WAYDROID, formerly referred to as Anbox-Halium, is a rebuild of Anbox, intended to use more of the native host’s hardware, resulting in faster performance than Anbox.
And yes, ARM apps/games work just fine!!
Waydroid - ArchWiki (Please have a look into the ArchWiki for additional information)
https://github.com/waydroid/waydroid
While some of you may successfully follow the above guides to set up Waydroid, others might find the process complex and encounter challenges, as I did before achieving a smooth setup.
I created this guide to significantly simplify the process of setting up Waydroid for you.
These steps should work for everyone, and I have explained every step well enough to ensure that even those new to Linux can understand and follow them easily.
Supported Hardware
I) Supported CPUs :
Waydroid supports most of the common architectures (ARM, ARM64, x86 & x86_64 CPUs).
II) Supported GPUs :
Waydroid uses Android’s mesa integration for passthrough, and that enables support to most ARM/ARM64 SOCs on the mobile side, and Intel/AMD GPUs for the PC side. For Nvidia GPUs (except tegra) and VMs, we recommend using software-rendering (check out the link for steps to force Waydroid to run without GPU acceleration).
[If you have Nvidia dedicated GPU and an integrated AMD/Intel GPU, you can choose to pass Waydroid graphics only through your integrated one.
The Waydroid-Settings app mentioned in the point no. 10 of this guide can be used to do this easily.]
1. Wayland:
First of all, you need Wayland.
Waydroid only works in a Wayland session manager, so make sure you are in a Wayland session.
Note that even if you are in X11, many Wayland session manager supports nested session (so you can run it inside your X11 session); the simplest example is weston.
2. Kernel with required modules:
2.1 You need to run a kernel which comes with the binder modules.
The following kernels include the necessary kernel modules with them:
I) linux-zen
(Garuda’s default kernel)
II) The Cachyos kernel:
(available in the chaotic-aur)
linux-cachyoslinux-cachyos-lts
III) linux-xanmod
(available in the chaotic-aur)
[ Enable PSI by default with Xanmod kernel:
Add psi=1 boot parameter to the kernel command line of your boot loader.
(For Grub: edit /etc/default/grub and add psi=1 to the end of GRUB_CMDLINE_LINUX_DEFAULT, within “” and before any # symbols)
]
Install any one of these kernels by:
-
GUI approach:
Garuda Settings Manager (App) → Hardware → Kernel
-
CLI approach:
Run this command in the terminal (replacing *** with the kernel name, like bore, xanmod)
sudo pacman -S linux-*** linux-***-headers
or
2.1 Install binder_linux-dkms, which provides binder_linux.
(i) sudo pacman -S binder_linux-dkms
This installs the required binder modules if a kernel doesn’t include them with it, like Arch Linux’s default kernel (or any other kernel)
(check out the above hyperlink link for more information, recent updates and prevailing issues, if any, regarding binder modules)
Install
binder_linux-dkms, only if your kernel doesn’t have binder modules inbuilt.You can check by using the
modprobecommand:
(The binder module is present by the namebinderorbinder_linux)
sudo modprobe -a binderorsudo modprobe -a binder_linuxIf either of the above command returns a blank output, your kernel already has the binder modules inbuilt.
3. Setting up Kernel Modules
You probably won't require this step as of now. It was required for earlier versions. You may take a look to have an idea of how it works under the hood.
i) To automatically load the binder modules on boot(Kernel module - ArchWiki):
Create a file inside /etc/modules-load.d/, which contains the lines:
(sudo nano /etc/modules-load.d/waydroid.conf)
/etc/modules-load.d/waydroid.conf

binder_linux
- ( it could be simply
binderinstead ofbinder_linuxdepending on the output of modprobe command as used above)
(Save and exit)
ii) To automatically create a mount point for the binder modules at boot
(systemd - ArchWiki):
Create a file in /etc/tmpfiles.d/ with the content:
(sudo nano /etc/tmpfiles.d/waydroid.conf)
/etc/tmpfiles.d/waydroid.conf

d! /dev/binderfs 0755 root root
(Save and exit)
iii) To automatically mount the binder modules on boot, add a line in the fstab. Using the option nofail here will not greet you with a recovery shell when you are booting a kernel without binderfs support (such as the standard kernel):
(sudo nano /etc/fstab)
/etc/fstab

none                         /dev/binderfs binder   nofail  0      0
(Save and exit)
You can skip the iv) step if you reboot after the iii) one.
iv) Mount the binder modules:
Load the binder modules (Kernel module - ArchWiki)
(mkdir(1) — Arch manual pages)
(mount(8) — Arch manual pages)
sudo modprobe -a binder_linux
(it could be simply binder instead of binder_linux)
sudo mkdir -p /dev/binderfssudo mount -t binder none /dev/binderfs
4. Installing Waydroid:
(available in chaotic-aur for Garuda users):
sudo pacman -Syu waydroid
Now reboot!
5. Setting up Waydroid:
After you have installed Waydroid
5.1 Initialize Waydroid:
sudo waydroid init
- You can also initialise with GApps support (with Google Play Store):
sudo waydroid init -s GAPPS
(You will find more details regarding multiple ways to install GApps and get it working later down in the point no. 7 of this guide)
(You might have to reboot again.)
Here is a breakdown of what the
waydroid initcommand does:
- Downloads the latest Android image from the Waydroid repository.
- Sets up the Waydroid configuration file. This file specifies the location of the Android image, the Waydroid runtime environment, and other settings.
- Starts the Waydroid container.
[The download speeds may be very slow during the initialization process when you download the container images, you can try connecting to a European country through a VPN (Several people have encountered this issue). You can check out Riseup-VPN in the chaotic-aur or its snap version]
5.2 Enable and start the waydroid-container service:
sudo systemctl enable --now waydroid-container
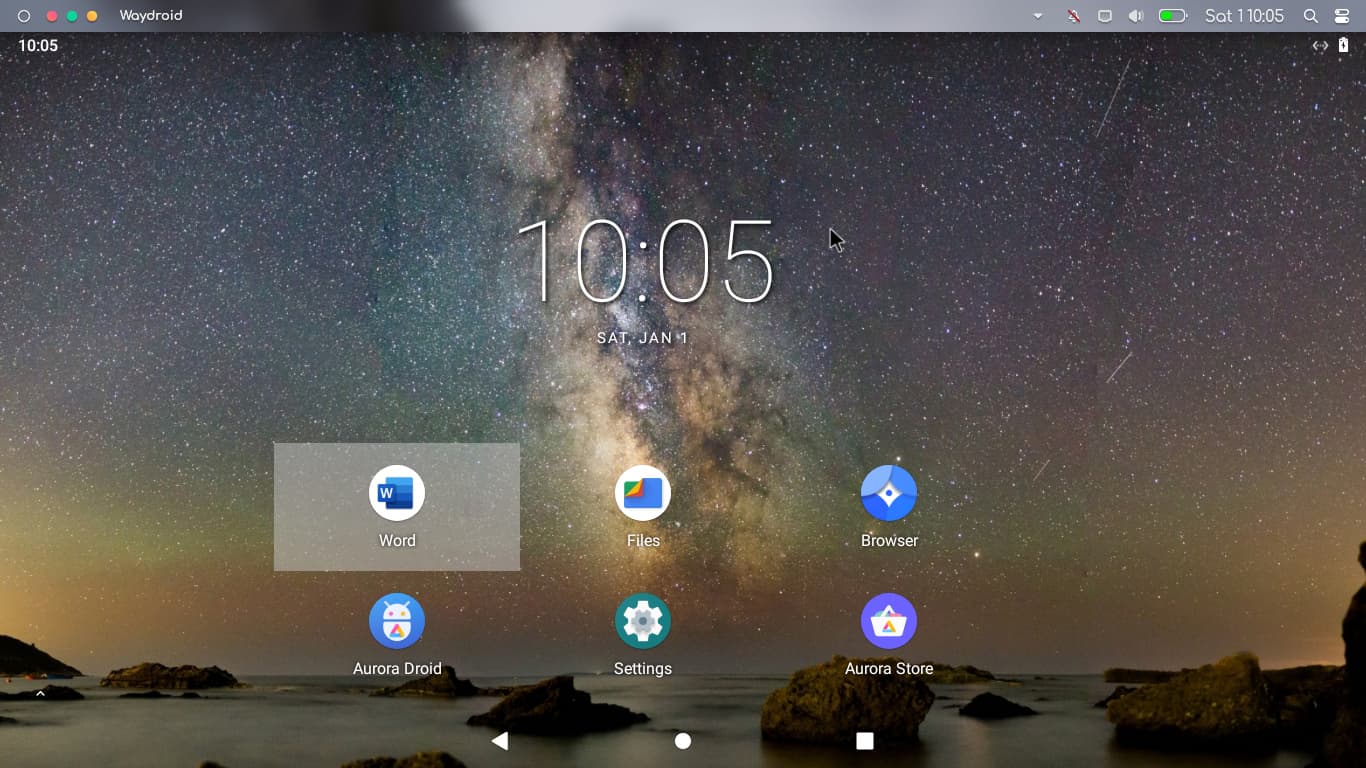
Then launch Waydroid from the applications menu.
or
5.2 To start Waydroid without systemctl, you need to follow a few simple steps:
i. Start the container first:
sudo waydroid container start
ii. And in a new terminal tab, start the waydroid session (without sudo):
waydroid session start
After that starts and you see “Android with user 0 is ready”, it is safe to launch an app from the applications menu.
- To Launch Waydroid In Full-Screen Mode from the terminal:
waydroid show-full-ui
- For network in your Waydroid container:
Please check this out:
Network in Waydroid
6. Make sure you have the latest Waydroid image by running:
sudo waydroid upgrade
7. To Install an application:
waydroid app install $path_to_apk
8. Install ARM translation libraries and App Stores
- GUI method:
Waydroid Helper is a graphical user interface application written in Python using PyGObject. It provides a user-friendly way to configure Waydroid and install extensions, including Magisk and ARM translation.
We have an AUR package for waydroid-helper and it is also available in our chaotic-aur, or you can grab an AppImage from their GitHub releases page.
I) Install it by:
sudo pacman -S waydroid-helper
II) Run it from your application launcher.
Install your preferred version of GApps and libndk/libhoudini ARM translation libraries (pulled from different projects with different custom patches) listed in the app to have Google Play Store installed in Waydroid and to run ARM-only apps.
You might have to go with MindTheGapps for compatibility with Android 13 ROMs (Check your Android version from the ‘About phone’ section in the settings app).
Similarly, you might have to install ndk_translation-chromeos_zork with Android 13 ROMs.
- CLI method:
We have an AUR package for waydroid-script-git and it is also available in our chaotic-aur.
I) Install it by:
sudo pacman -S waydroid-script-git
II) Run sudo waydroid-extras in the terminal to get an interactive terminal interface.
(Check your Android version from the ‘About phone’ section in the settings app.)
Install gapps & libndk/libhoudini to install Google Play Store and translation libraries to run ARM-only apps.
Google’s libndk_translation from Chromiumos’ firmwares seems to have better performance than libhoudini on AMD.
Whereas, libhoudini is Intel’s ARM translation library for Intel/AMD x86 CPU, so it should work better on Intel than libndk.I tested on my AMD hardware and experienced frame drops and touch input issues when I ran ‘Angry Birds’ with
libhoudini. Running it with justlibndkworked just fine.If you install both
libndk&libhoudini, apps will use the ARM-translation library you last installed (the last one you installed overwrites the previous one). So, installing both of them doesn’t make sense (That’s what I saw when I tested).
[ You can check out other software from waydroid-extras & waydroid-help as well,
-
MindTheGapps: a minimal and reliable Google Apps (GApps) package tailored for custom ROM users, ensuring seamless integration of necessary Google services without unnecessary bloat.
(Compatible with Android 13 ROMs) -
LiteGapps: litegapps is a custom Google Apps on the Android operating system, an open source project that focuses on small, efficient, and comprehensive.
-
Open GApps: an open-source effort to script the automatic generation of up-to-date Google Apps packages
-
libhoudini & libndk: arm translation libraries
-
Magisk Delta: a suite of open-source software for customizing Android
(Magisk only works with Xanmod kernel)
You may refer to these for further details to install Magisk on Waydroid:
https://github.com/casualsnek/waydroid_script#install-magisk
https://github.com/nitanmarcel/waydroid-magisk
-
microG Project: re-implementation of Google’s proprietary Android user space apps and libraries
-
Smart Dock: A user-friendly desktop mode launcher that is modern and customizable
]
Other ways to install GApps,
i. From the chaotic-aur,
sudo pacman -S waydroid-image-gapps
or
ii. From waydroid itself,
sudo waydroid init -s GAPPS -f
(restart the waydroid-container to see the effect)
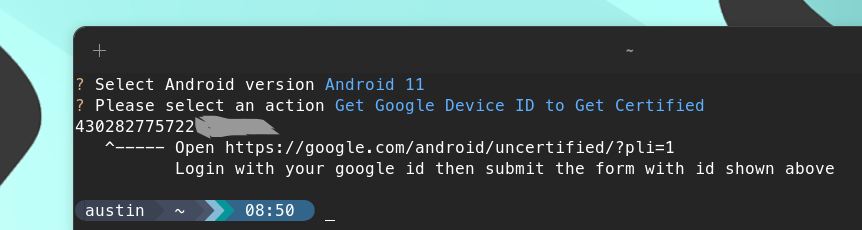
III) To get GApps working you need to register your waydroid device with Google.
Run sudo waydroid-extras, and select Get Google Device ID to Get Certified option, when the waydroid session has finished booting, copy the returned numeric ID open “https://google.com/android/uncertified/?pli=1” enter the id and register it, you may need to wait up to 10-20 minutes for device to get registered, then clear Google Play Service’s cache and try logging in!
Another way to register your device without the waydroid-script
i. Enter the Waydroid Shell,
sudo waydroid shell
ii. Run the following command,
ANDROID_RUNTIME_ROOT=/apex/com.android.runtime ANDROID_DATA=/data ANDROID_TZDATA_ROOT=/apex/com.android.tzdata ANDROID_I18N_ROOT=/apex/com.android.i18n sqlite3 /data/data/com.google.android.gsf/databases/gservices.db "select * from main where name = \"android_id\";"
You will get an output similar to this:
android_id|3898448631055569453
iii. Go to https://www.google.com/android/uncertified/, and enter your android_id to Register your device!
IV) Check out these open-source alternatives for Google’s PlayStore:
If you can’t find or install any of the apps from the Play Store, you should be able to install them from the Aurora Store.
*To run Roblox:
[ You need to do some tweaks (this might also be useful to run some other games)]
Edit /var/lib/waydroid/waydroid_base.prop and change ro.hardware.gralloc=gbm to ro.hardware.gralloc=minigbm_gbm_mesa.
Source:
https://gitlab.com/TestingPlant/roblox-on-waydroid-guide/
(This guide in itself is an almost complete guide for Waydroid!)
9. To fix unusable rotated apps:
See Issue 70.
Click F11 to switch the current app to windowed mode.
10. Root Access in Waydroid!:
(I) Install Magisk (As of now only works with Xanmod kernel):
You can install it using the waydroid-extras software as mentioned in step 7 of this guide.
(II) Install Shizuku (Works with all kernels):
https://github.com/RikkaApps/Shizuku
You can install it from Play Store or F-Droid
Although Shizuku does not give you a full Root Access, it can give ‘root-required apps’ adb permissions in Android, which is more than sufficient for about 99% of root-required apps.
You will need to establish adb connection between Shizuku and your device every time you start a new Waydroid session in order to grant apps adb permissions.
You can do this from your Linux host terminal itself. Just run this command after the Waydroid UI has launched:
sudo waydroid shell sh /storage/emulated/0/Android/data/moe.shizuku.privileged.api/start.sh
This would have been a more convoluted process on an Android device.
But, with Waydroid on a Linux host, you can make it easier by automating this every time you start your Waydroid session.Now, to automate this, create a permanent alias (How to create an alias?) for,
waydroid show-full-ui & sleep 10 && pkexec waydroid shell sh /storage/emulated/0/Android/data/moe.shizuku.privileged.api/start.sh
You would need to wait for the Waydroid session to start before you run the
moe.shizuku.privileged.api/start.shscript. So replace the numeric value (in seconds) insleep 10considering the time it normally takes for Waydroid UI to launch on your system.
(I have a 2021 processor, and it launches Waydroid UI within 10 seconds; it would be normal for a 2017 processor to take a minute to launch Waydroid UI)
Details of the alias created
&operator is used to run a command in the background, which means that the command will continue to run even after the terminal session is closed.&&is used when you want to execute a command only if the previous command succeeded.- You can access polkit using
pkexec.

You can run this alias to start your Waydroid Session and automatically establish adb connection between Shizuku & Waydroid.
If you want to create a .desktop file for this, check out this comment posted below.
11. Install a Key Mapper
Using these apps, you can map your keyboard keys for different actions in games, apps or even as keyboard shortcuts!
(I) GitHub - Xtr126/XtMapper: Keyboard and mouse input mapper
Download the APK from the GitHub releases.
(II) Key Mapper & Floating Buttons | F-Droid - Free and Open Source Android App Repository
You can also find it in Play Store.
[YouTube: How to use Key Mapper?
You can check out this video to get an idea of how it works.]
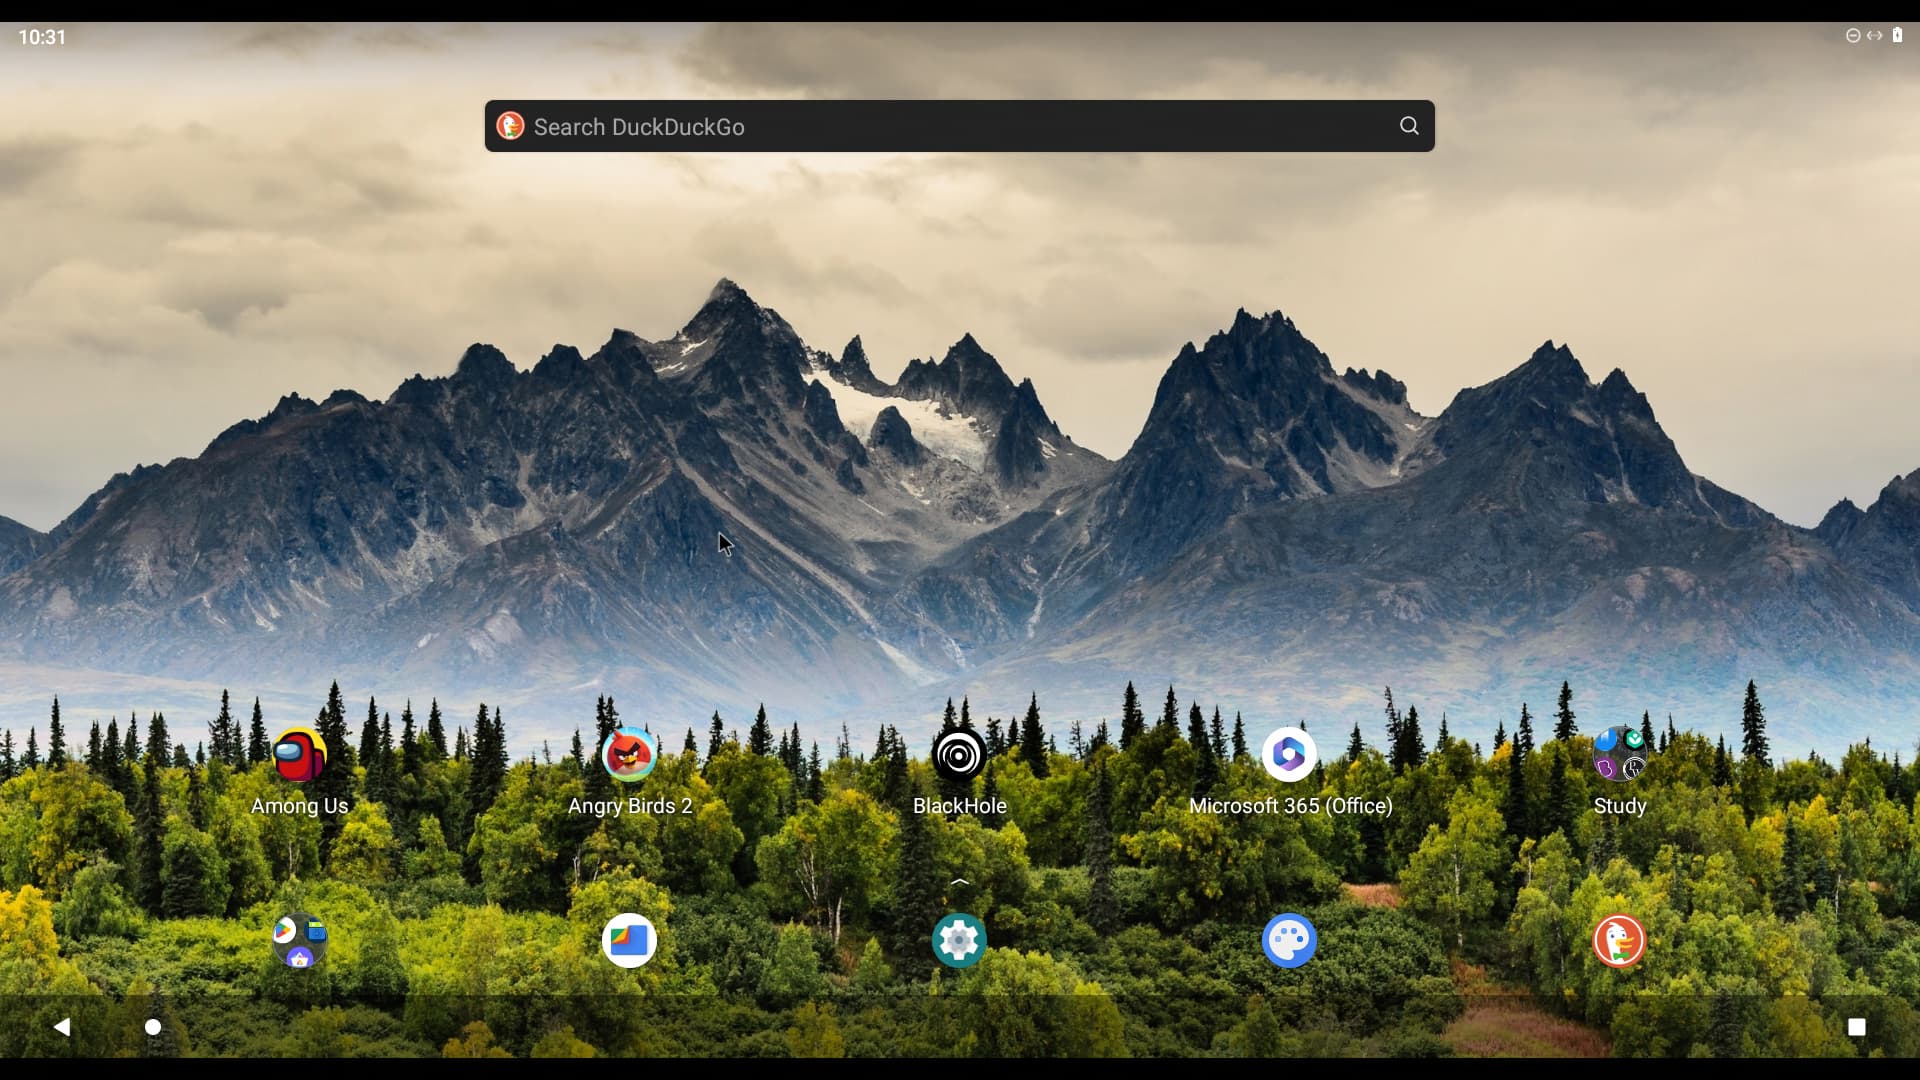
I could get touch inputs of games like Need for Speed: No Limits mapped to my keyboard perfectly!
And there is also no input lag with the keyboard!
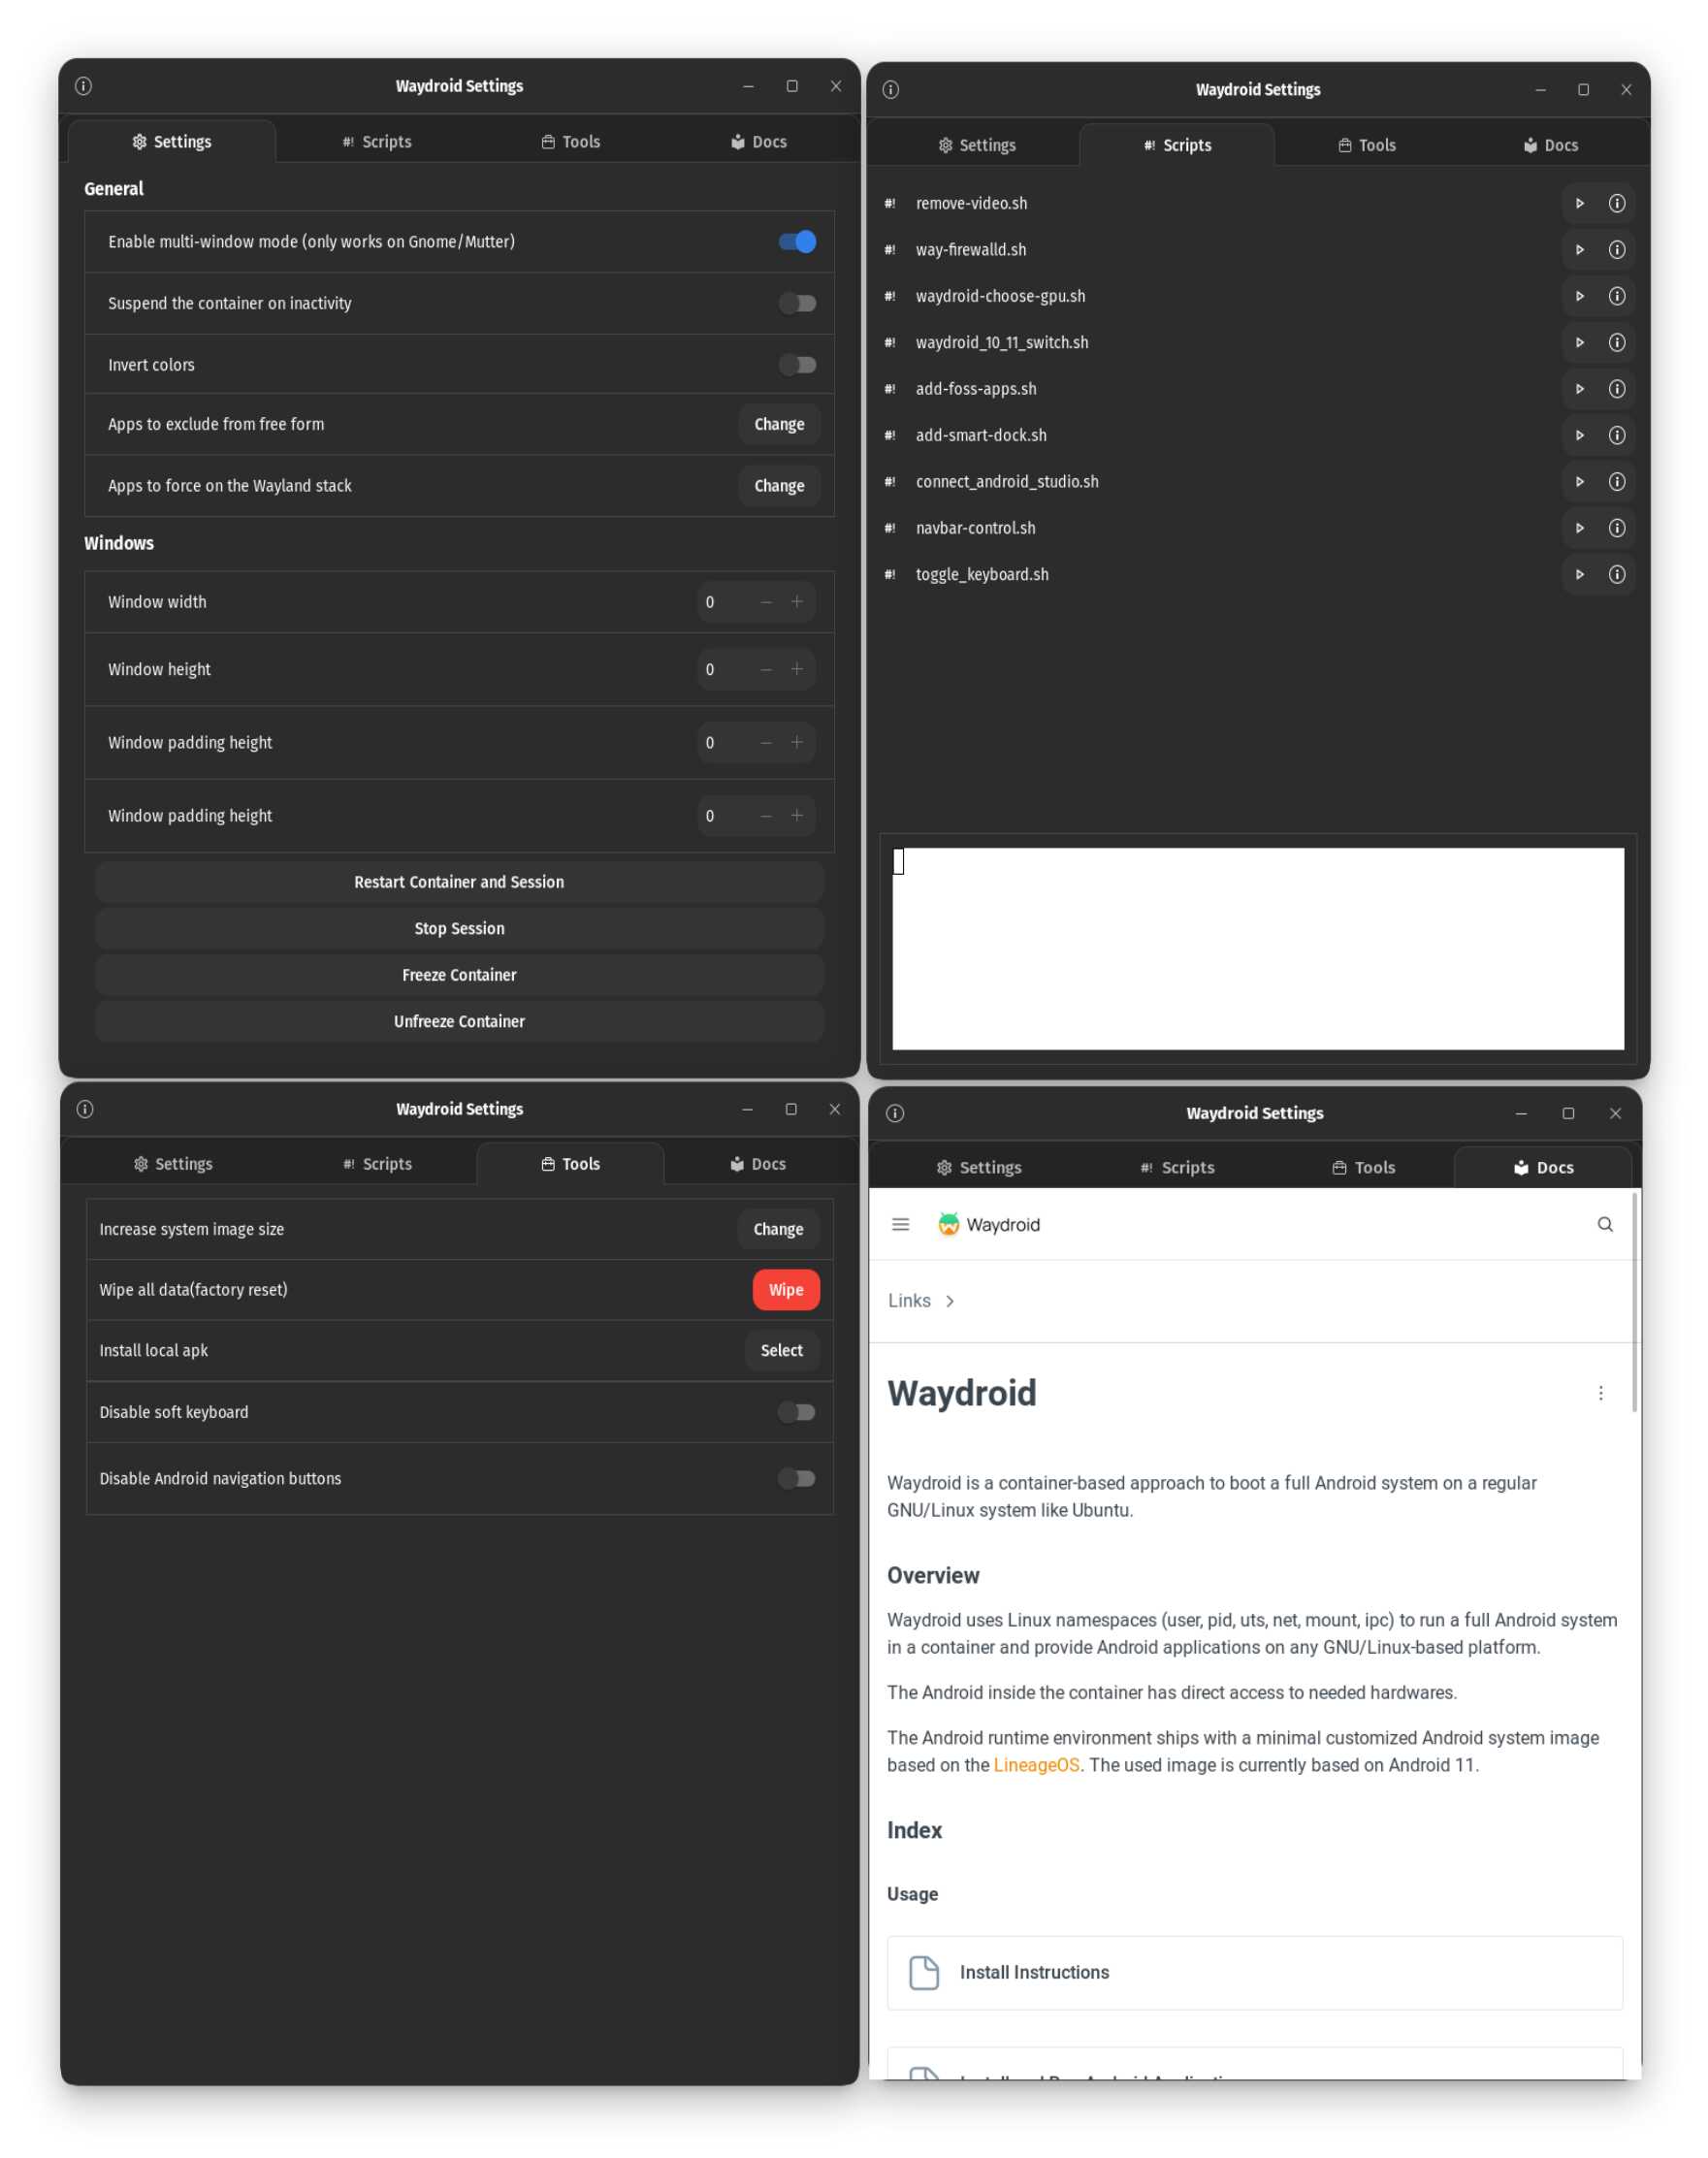
12. You can install Waydroid-Settings (a GTK app written in Python to control Waydroid settings):
13.
You can now have a look here for guides like Setting up a shared folder & Setting up Waydroid only Sessions!
ArchWiki/Waydroid#Troubleshooting
(You should check out the above link for some handy troubleshooting tips.)
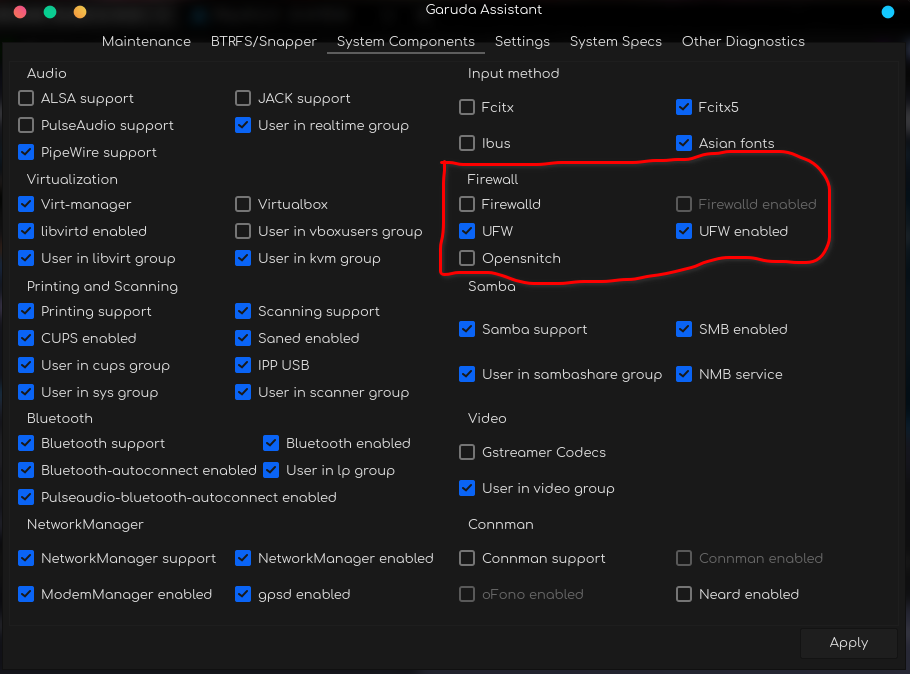
(I) If you encounter, [gbinder] WARNING: Service manager /dev/binder has died,
Enable PSI by default:
Add psi=1 boot parameter to the kernel command line of your boot loader.
(For Grub: edit /etc/default/grub and add psi=1 to the end of GRUB_CMDLINE_LINUX_DEFAULT, within “” and before any # symbols)
(II) If you are not able to run Waydroid (i.e. getting errors) when you switch to another kernel (that has the binder drivers) or even to Arch’s stock kernel + binder_linux-dkms, reinitialize Waydroid and reboot,
sudo waydroid init -f
or
sudo waydroid init -s GAPPS -f (If you have a GAPPS image)
The
waydroid init -fcommand initializes Waydroid.
( The-fflag tells Waydroid to force a reset.)This downloads the latest Android image (if there is an update), sets up the Waydroid configuration file and starts the Waydroid container.
Check out the comments below for more information regarding recent updates, hacks, related tools and prevailing issues.
Feel free to share your experience using waydroid and all the apps and games you got working.