I am trying to burn Garuda linux KDE Dragonized Gaming edition I also tried Garuda Linux Gnome edidtion None of these seem to work, it does not create a bootable media on my USB, I am using a 64 GB USB 3.1 USB, I am using Balena Etcher to burn ( i also tried rufus ), All it does is Lowers the size of the usb to 4.7MB and unallocates rest of the space... ( i have tried it like that but still does not work ) i have also verified the CheckSums and they are alright. idk why this does not work, when I try to boot the usb there is an error saying "Media device is not Bootable", hoping to get the answer soon, cuz i really like this distro and am excited to try it out  .
.
1 Like
Personally, I use RPi-Imager. It is able to format your drive, then flash the ISO to it.
Erase is found in the 'Choose OS' list, to be followed by Garuda (obviously!), chosen under the 'Use Custom'.
I had problems with Rufus (well-known) and Balena Etcher.
For other options, read this thread with many options for you - Another imager option
Tbh i do not get it what you are saying ( kinda ) cuz the rpi imager is for rasberry pi, and i am trying to install on a Hp Laptop
True, but it does work. As I indicated, read the thread I linked and you will have plenty of choices to pick from 
1 Like
What brand is your USB flash drive? Are you sure it’s actually 64GB and not one of those cheap fakes that write “forever”?
4 Likes
It is from a brand called "SanDisk" it is pretty famous here in India, and yes I have tried a different operating system ( deepin 20 ) and it worked flawlessly.
3 Likes
In which case, read the thread and start again with RPi-Imager, or another of your choice, listed in the thread linked for you.
Format/erase drive FIRST, though!
1 Like
Well... Aur ain't gonna work cuz I only have Windows 10 installed on my pc rn.
RPi-Imager is available for windows - Raspberry Pi Downloads - Software for the Raspberry Pi
1 Like
Well, Downloaded it but i do not see any options to choose an iso nor to select garuda linux ( only ubuntu is there ).
( btw sorry if i sound like a noob, i am just new to linux it is just my third ever distro )
My post earlier took you through all these steps.
Erase is found in the 'Choose OS' list, to be followed by Garuda (obviously!), chosen under the 'Use Custom'.
1 Like
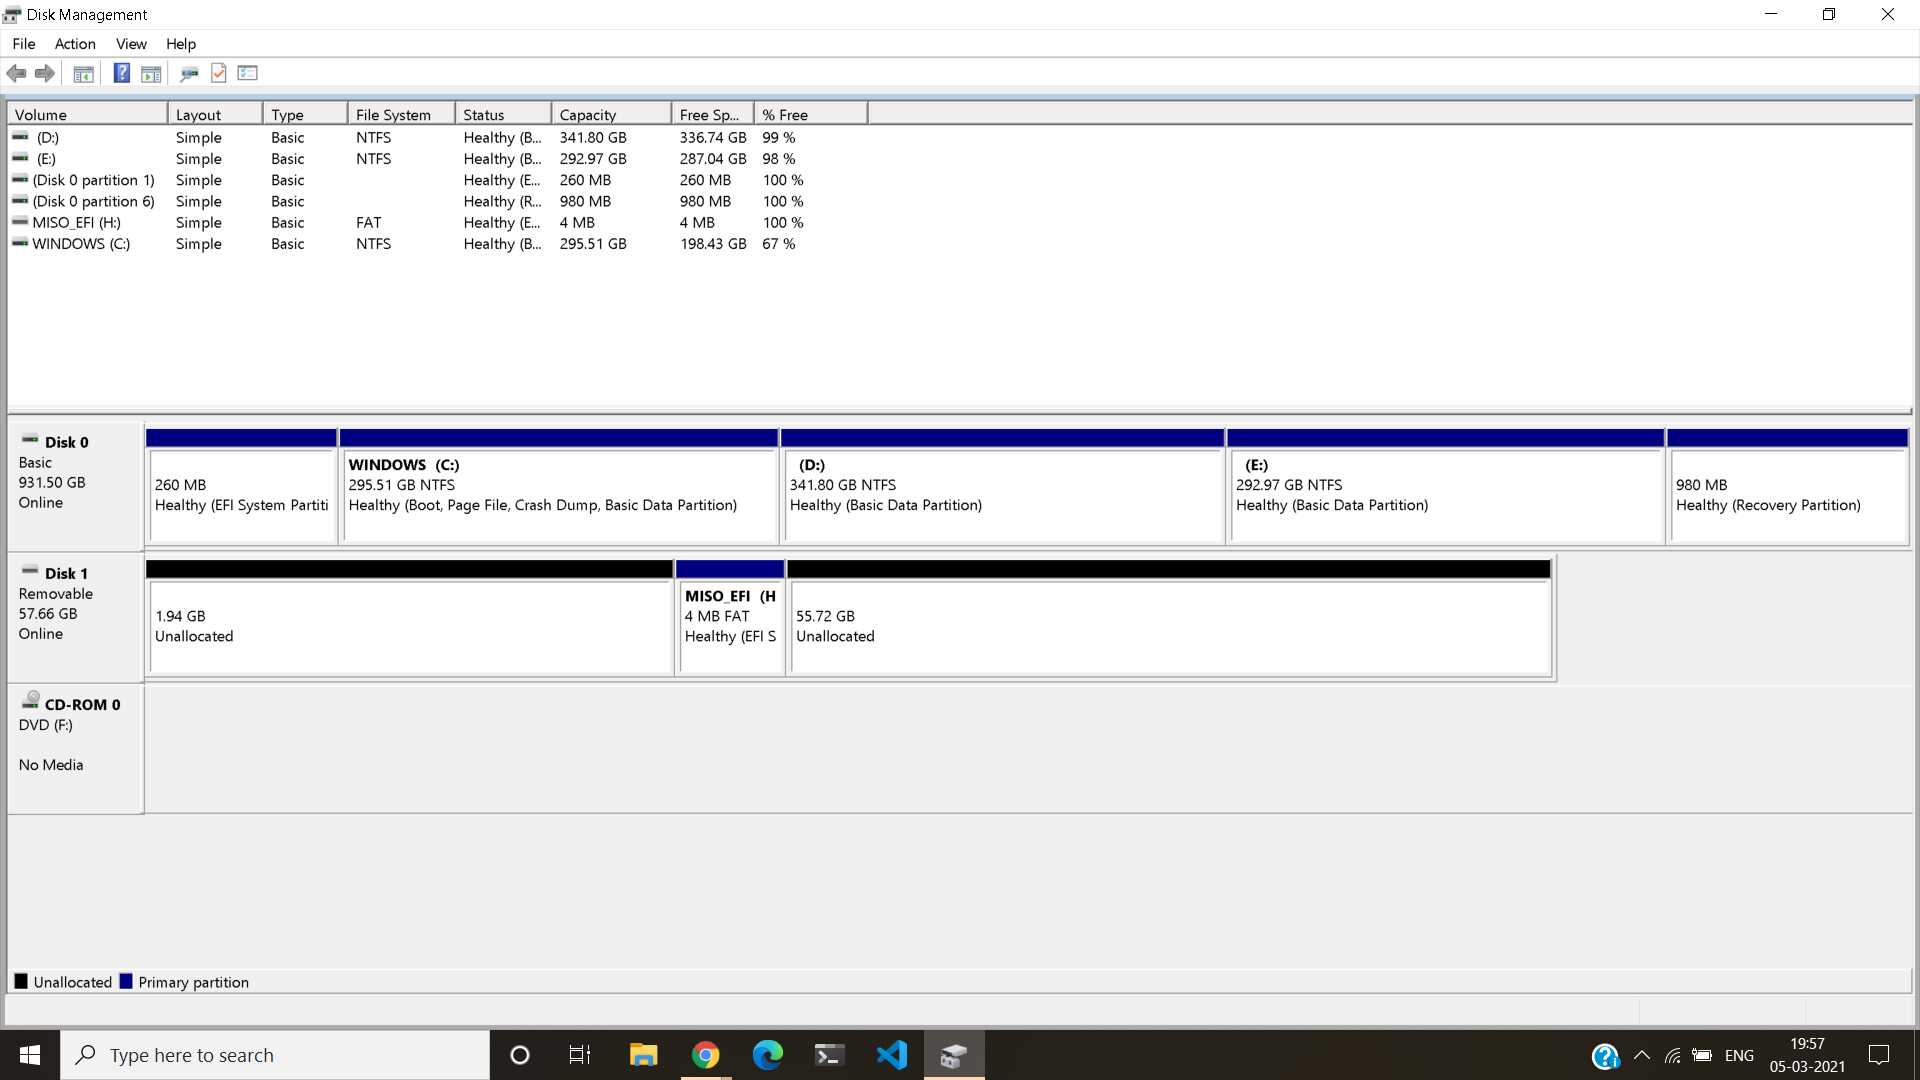
Well it is now just turning the whole drive to "Unallocated Space" ( and also i tried burning deeping cus i had it's ISO and guess what it worked perfectly ).
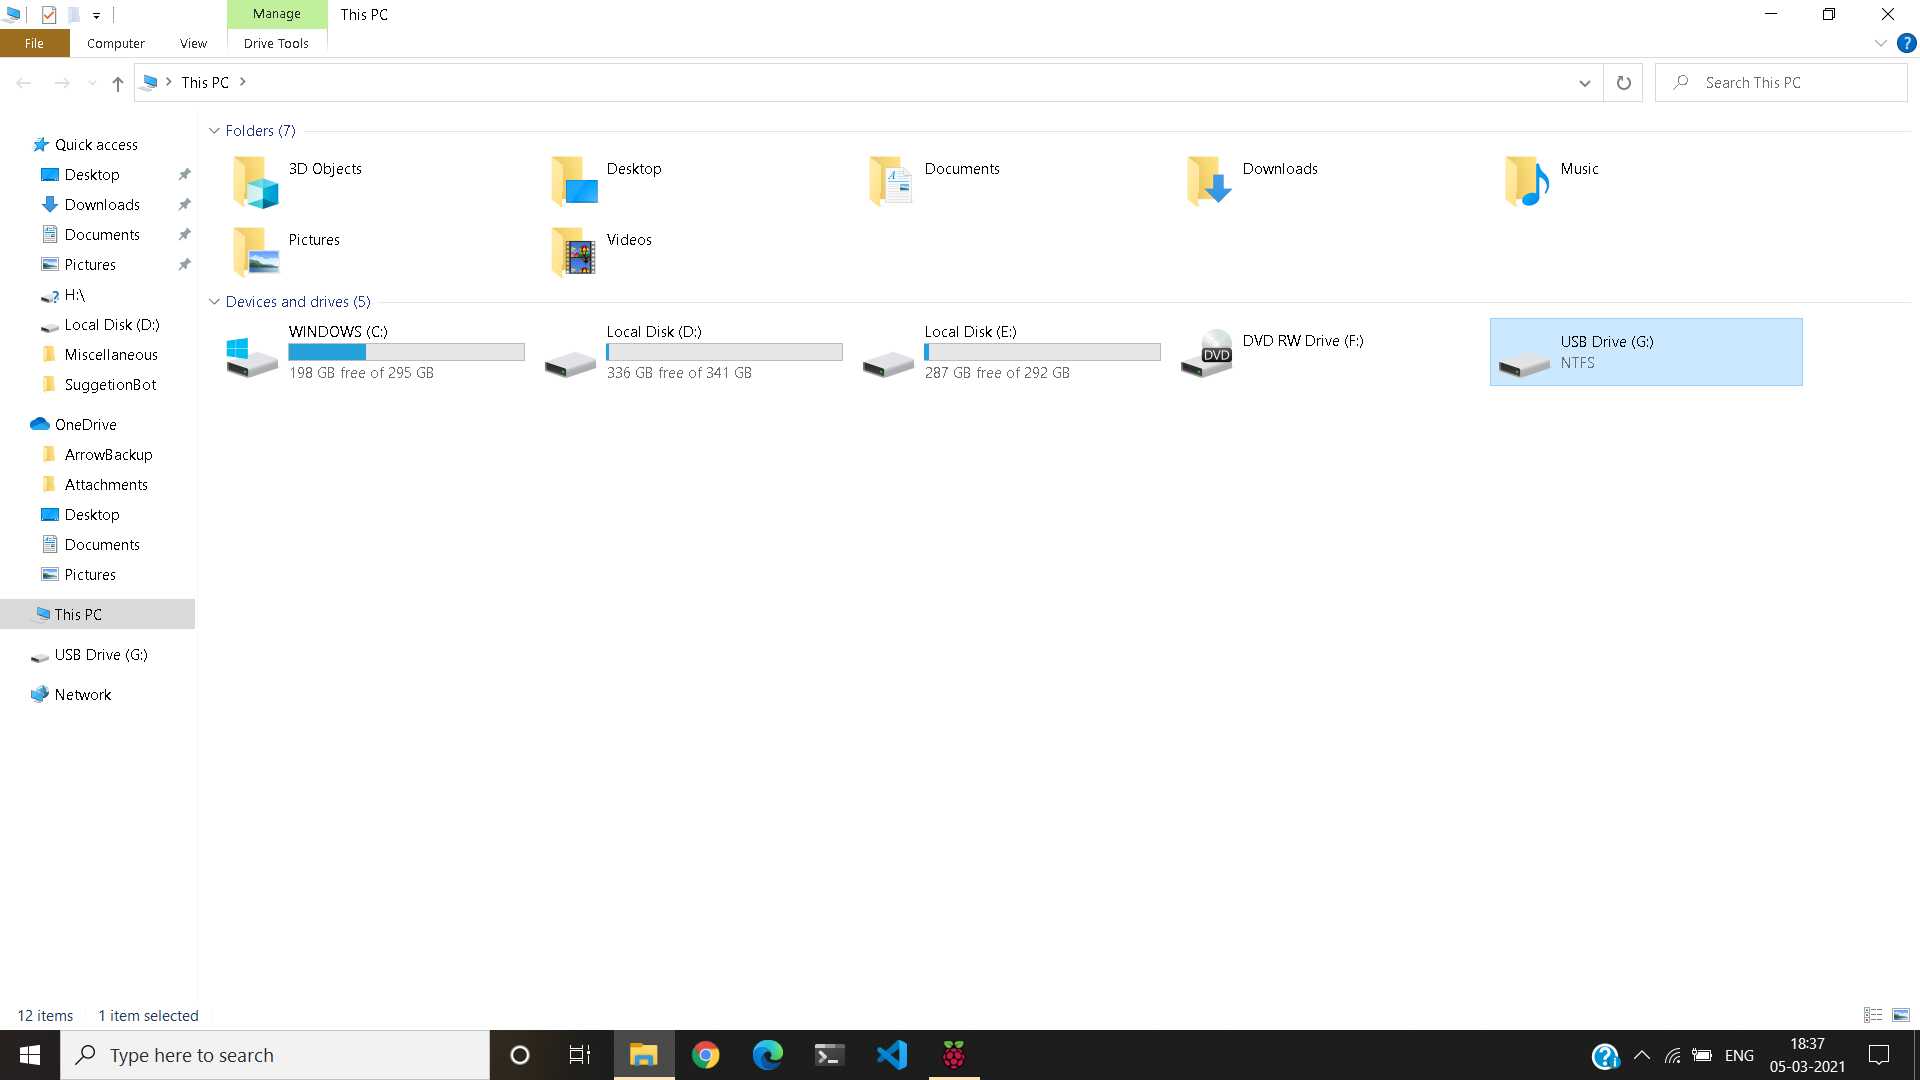
This still doesn’t mean it hasn’t worked. An installer image is not a USB storage drive.
Try booting from it, and if it “doesn’t boot” then provide more details.
1 Like
USB shows as NTFS, where you want FAT32 to write the ISO.
As far as I am concerned, you have been given an answer which does work and has worked, many times.
I have no further suggestions, but some research may help you.
1 Like
OH i see. My bad.
Hello. Welcome to the community 
Btw I'm still newbie to with Linux and just make a WORTH IT decision to clean install my laptop from Windows 10 into Garuda Dr460nized Linux
Here how I do with when I'm flashing my flash drive to become Live USB to install Garuda.
- Download the .iso
- Download the sha256.checksum
- Make new folder and put it both inside it
- Run Balena Etcher to flash my flash drive
- Follow the directions from Balena Etcher
- After done flashing, I restart my laptop and booting from my Live USB.
I hope it help. Good luck 
1 Like
Ah well now getting an error saying Selected Boot Image did not authenticate, Press <enter> to continue.
And also a better explaination of what i mean by it Unallocates all the space except for just a meer 4MB
That’s because you have Secure Boot enabled. The Download page explicitly says that Garuda does not support Secure Boot. Disable Secure Boot if you want to use Garuda.
This still isn’t relevant to the issue. You are using the USB flash drive as an OS installer medium, not as a USB mass storage drive.
3 Likes
Oh alrighty Thanks. Maybe i didn't read the installation page properly.
You may have to assign a BIOS password to deactivate "Secure Boot". And if you are already in the BIOS, deactivate "Fast Boot" at the same time. This doesn't harm Windows, but it can be an advantage for Linux.
2 Likes