Mastering the Micro text editor
This topic is about the Micro text editor, why we use it, and how to get started with some of the more advanced features.
This is a FAQ/tutorial topic. It is not intended to host a discussion about editor preference. I have created a sister topic where users can feel free to battle to the death over why their preferred editor is the best, and so on: What's your favorite editor?
Why does Garuda ship with Micro by default?
Micro has very advanced features suitable for experienced users with needs that are specific or complex, but also is very beginner-friendly and easy to get started with. This makes it an appealing default editor choice.
Here is an extremely simplified TL;DR of why Micro is a good editor choice:
- Very easy to use (e.g. common keybindings);
- Great mouse support (drag to create a selection, double-click to select by word, triple-click to select by line);
- Colors and syntax highlighting (over 130 languages supported);
- Highly customizable (change any keybinding or default setting you like);
- Lots of advanced features.
To briefly elaborate on that first point (ease of use), one of the things that makes Micro so easy to get started with for beginners is the fact that it ships with common keybindings most people are used to from other programs. For example:
- Ctrl+C to copy;
- Ctrl+X to cut;
- Ctrl+V to paste;
- Ctrl+S to save;
- Ctrl+F to find/search;
- Shift+
arrow keysto make a selection…
…And so on. The same shortcuts you would find in your web browser, or your document editor.
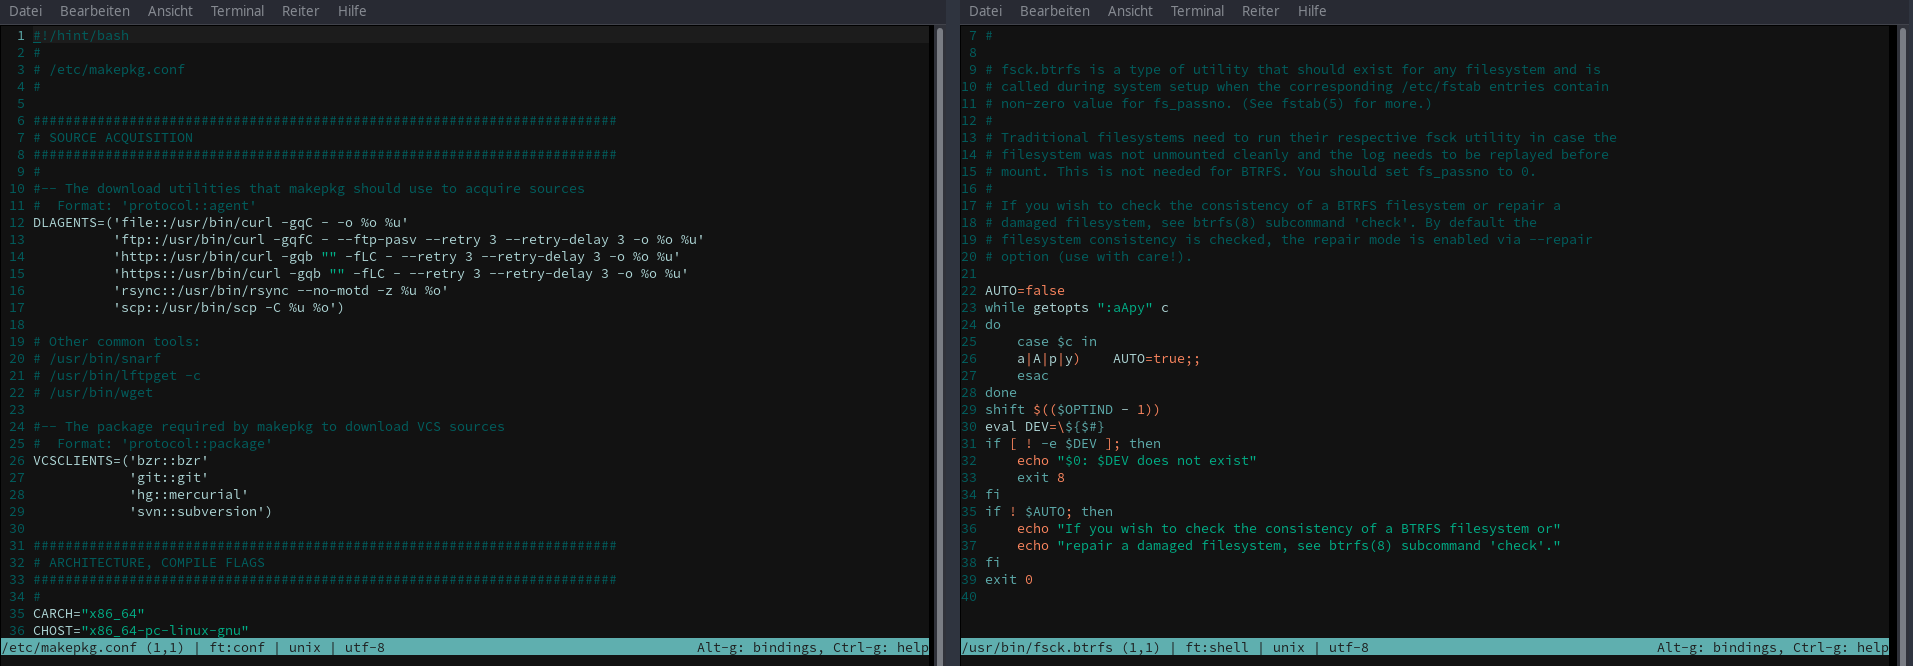
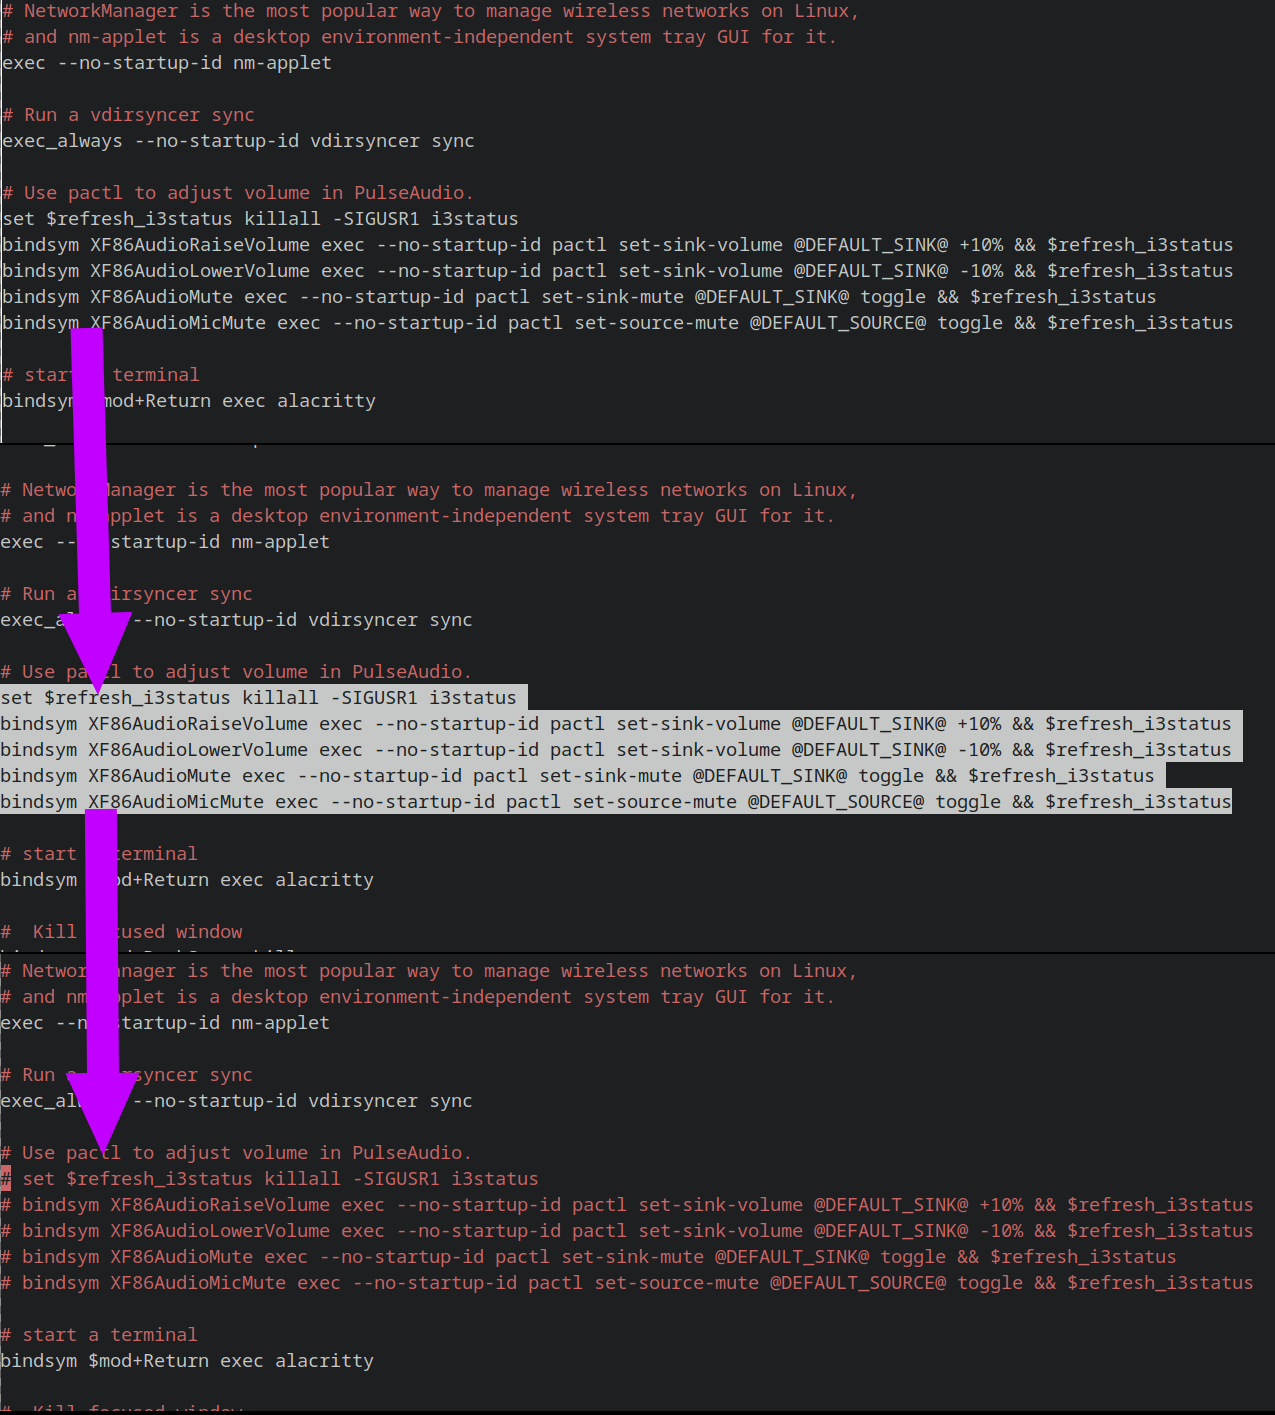
The bindings are easy to remember, but there is also a nano-like cheat sheet at the bottom of the screen you can toggle open with Alt+G:

You can also rebind any shortcut you like in the bindings.json file, so if you are used to a different binding it’s no problem to set it up.
Press Ctrl+E and type help defaultkeys to see a full list of default keybindings.
And that (Ctrl+E) brings us to one of the most powerful features of Micro: the command bar.
The Command Bar
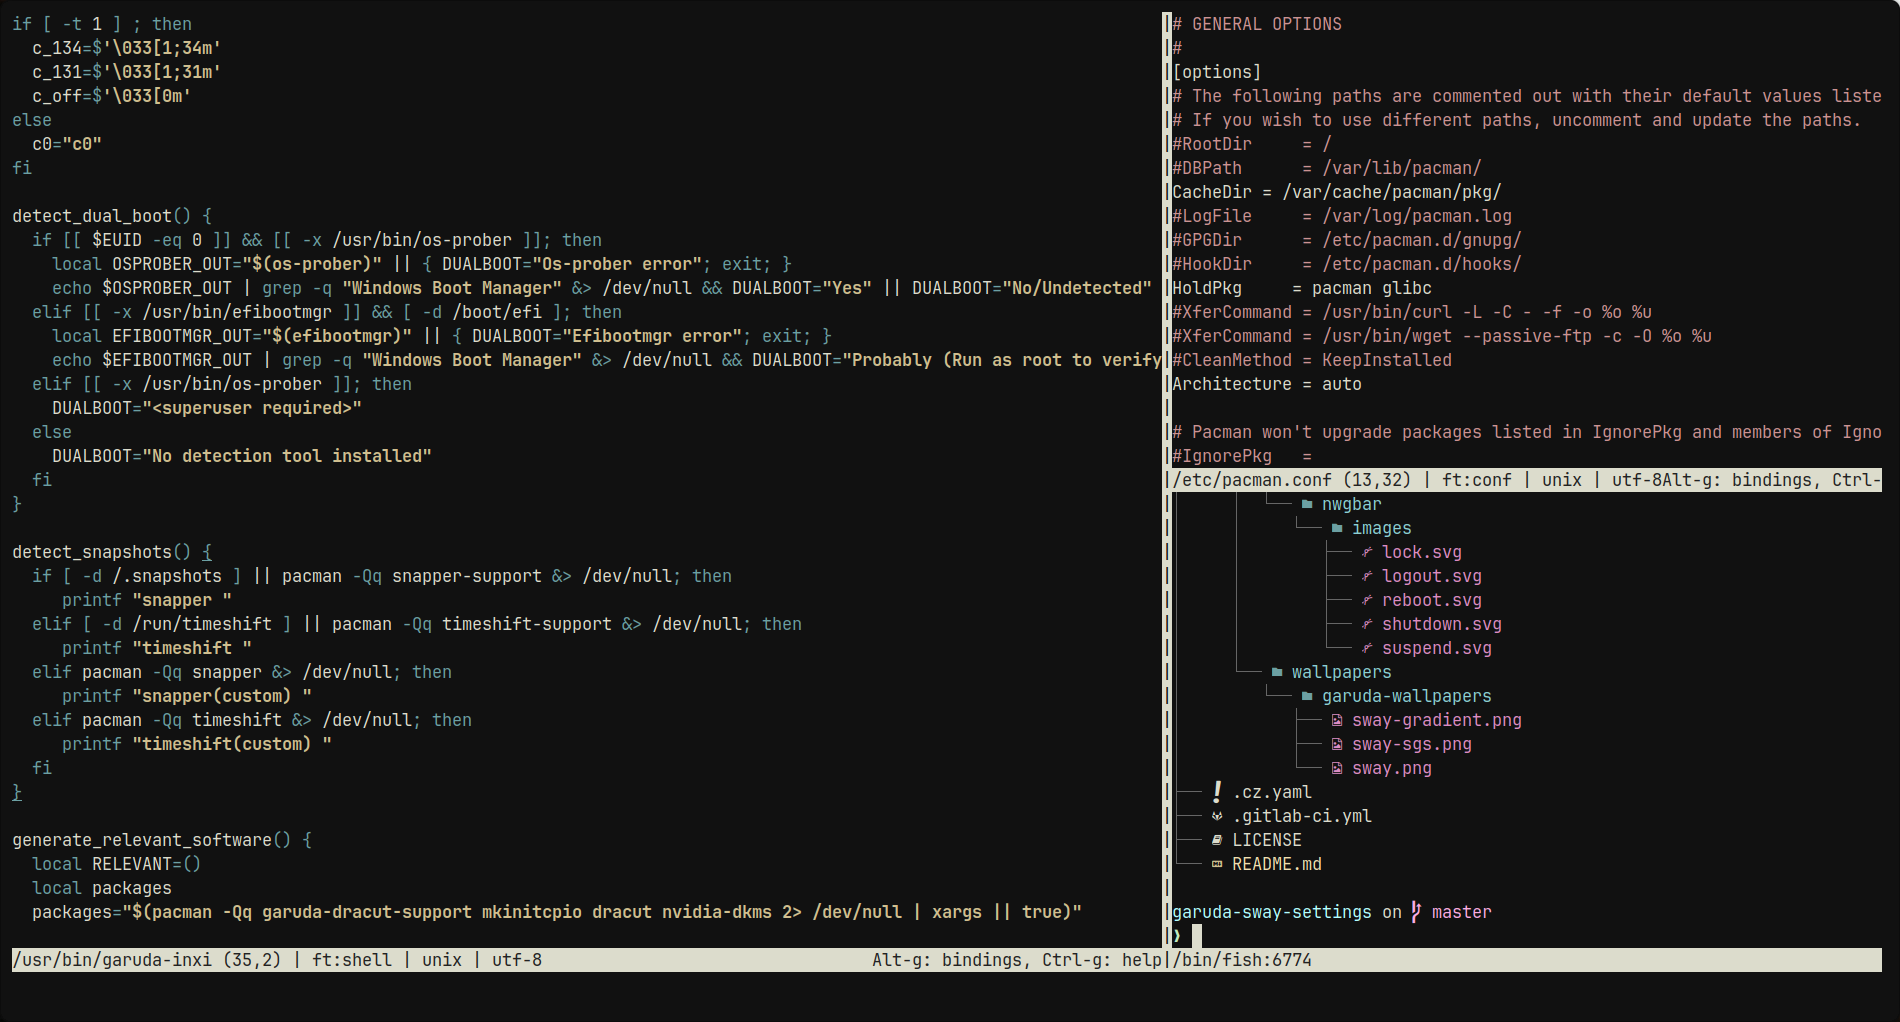
The command bar can be opened by pressing Ctrl+E. From here, you can launch a number of commands that allow you to access features or change settings. You can open the command bar and type help commands to read through the available commands, or in your browser here.
Reading through the commands is enough to get started because you don’t actually have to commit them to memory or anything; when you open the command bar, if you press Tab it prints out the available commands for you, and you can tab through them until you find the one you need.
![]()
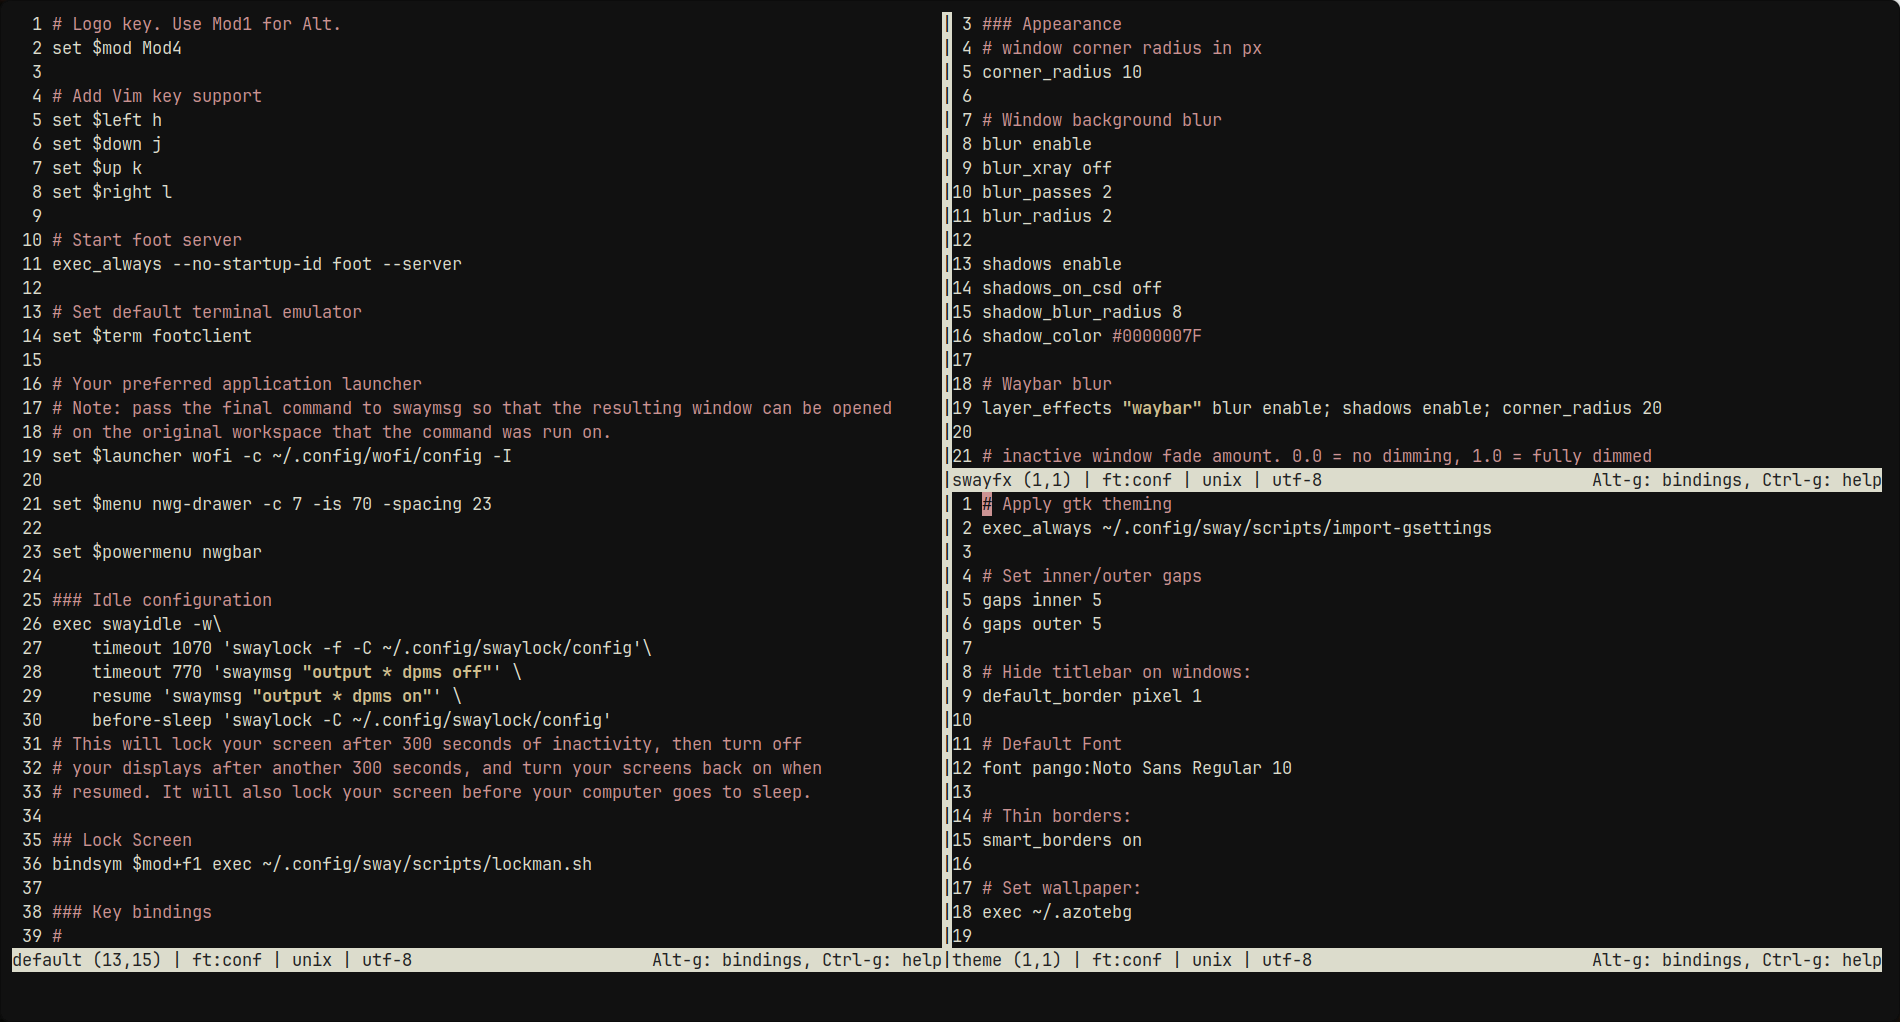
If you type a letter or few before you hit Tab, it will narrow down the list to whatever matches what you typed. For example, if you type “S” in the command bar and then hit Tab, it will show you all the “S” commands:

Micro has way too many features to assign a keybinding to each one and try to memorize them all. The command bar gives quick access to all those features so when you want to do something, you can just type it in.
A few basic useful commands:
save [filename]: Basically a “save as” feature. If you just typesaveand leave off the filename it’s the same as hitting Ctrl+S.replace foo bar [flags]: Replace “foo” with “bar”. The flags (optional) are-ato replace all occurrences, and-lto do a literal search instead of a regex search.replaceall foo bar: Basically the same asreplace foo bar -a.vsplit [filename]andhsplit [filename]: Split the window vertically or horizontally with filename. You can leave off the filename and just open an empty buffer if you want.
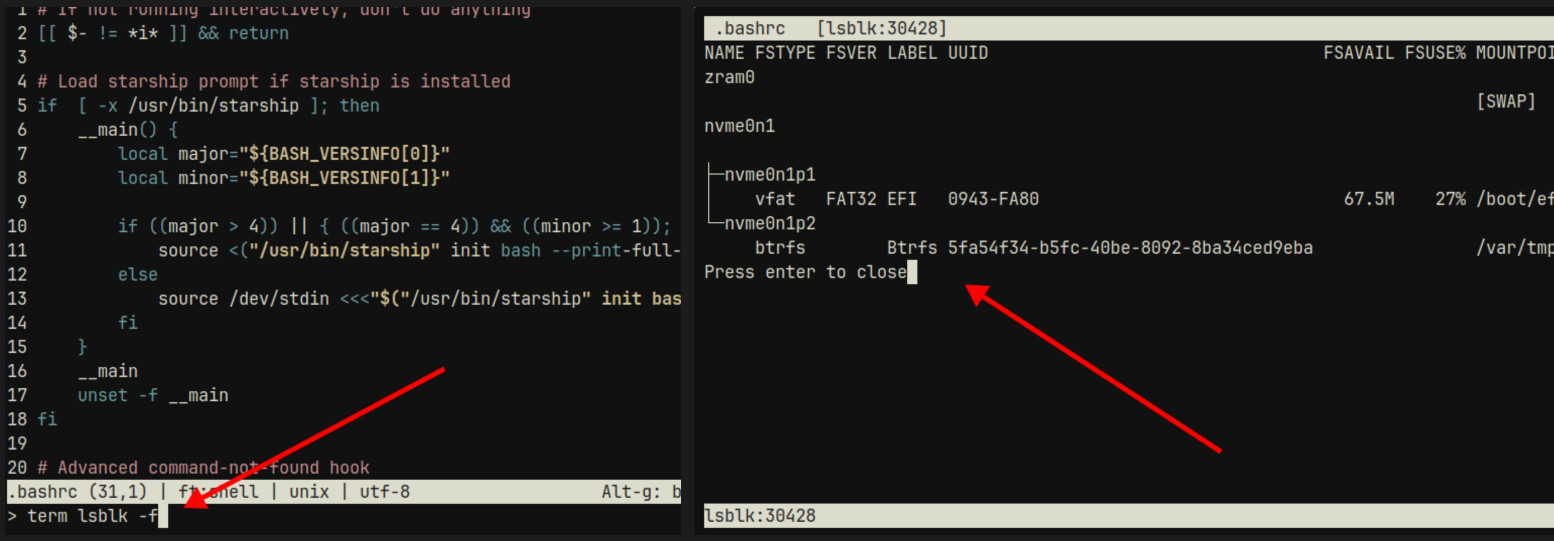
tab [filename]: Open filename in a new tab.goto 123: Go to line 123. If you put a negative number, it will go to that many lines from the end (goto -10will bring you ten lines from the end of the file).term [command]: Open a terminal (inside Micro) and run the command.
If you leave off the command it will just open a terminal session with the default shell. Combine withvsplitorhsplitif you like to keep a terminal open in your editor while you work.set [option] [value]andsetlocal [option] [value]: These basically let you change your options from within Micro.setwill actually change yoursettings.jsonfile for you, whilesetlocalwill just temporarily change a setting (just for the file you are working in).
The set and setlocal commands are super handy once you start tinkering around with the various options Micro has, because you can adjust your settings on the fly from within Micro itself without any need for editing a config file or anything like that.
The Options
Micro has way more features than the average text editor. You can read through the available options by opening the command bar and typing help options, or in your browser here. It is recommended you read through them when you have a chance, because there are a lot of great features that you will never find out about any other way.
A few basic useful options:
autoindent: When creating a new line, use the same indentation as the previous line. (Defaults totrue.)autosave=X: Enables an autosave feature, which automatically saves the file everyXseconds. The default is0, which disables autosave.autosu: Micro will automatically attempt to elevate withsudoif it is needed for saving a file but was not used when opening it.backup: Micro will keep backups for all open buffers. This is handy in the event of a crash, or if you close the terminal while Micro is still open with unsaved changes. You can restore the backup by reopening the file in Micro. If you save the file or discard the changes, the backup is automatically removed. (Defaults totrue.)clipboard: Possible values areexternal,terminal, orinternal.external, the default, will interact with the clipboard manager so you can copy and paste between applications.terminalwill use the terminal’s clipboard, which allows copy and paste to function over SSH (very handy!).internalis a Micro-specific clipboard, and is the fallback choice ifexternalis selected but no appropriate clipboard tool (xclip, wl-clipboard, etc) can be found.hlsearch: When searching, highlight all matches instead of one at a time. The “extra” highlighting can be temporarily turned off by hitting Esc.
eofnewline: Automatically add a newline to the end of the file if it is missing. (Defaults totrue.)matchbrace: Underline the matching brace (any of these: “( [ {”) when the cursor is on a brace character. (Defaults totrue.)
ruler: Display line numbers. (Defaults totrue.)softwrap: Wrap long lines when they get to the edge of the screen. (Defaults tofalse.)wordwrap: Wrap long lines by words.softwrapmust be set totruefirst.
This is a very small selection of options. As mentioned, it is advised to read through the options on your own; a feature you want may already be available and you’ll never know unless you read the doc.
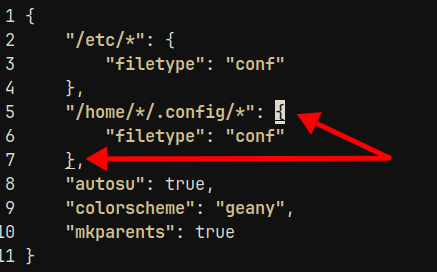
Setting the option in settings.json
You can override any setting you would like by editing settings.json.
micro ~/.config/micro/settings.json
Only options which have been changed from their default value need to be added to this file. For a full list of options in json format (handy for seeing what the formatting should look like), see the page here: micro/runtime/help/options.md at master · zyedidia/micro · GitHub
For example, to disable the line numbers you can add this to your settings.json file:
{
    "ruler": false
}
Note: each line should end with a comma, except the last line in the file should not. In this example, "ruler": false is the only line so it does not get a comma.
Setting the option in Micro itself
This is arguably the easier option because you don’t have to bother messing around with json syntax. Plus, you can change a setting on the fly–right in the middle of editing a file if you wish.
Sticking with our example, to change the ruler setting from within Micro you just open the command bar with Ctrl+E and use the set command.
set ruler false
This command will add the "ruler": false line to your settings.json file for you, and from now on this will be the new default.
If you would like to change a setting temporarily (i.e., not add it permanently to settings.json), you can use the setlocal command instead.
setlocal ruler false
This will leave the default as-is, but for your current Micro buffer the ruler will be disabled.
Note: With regard to the ruler setting, there is no need to ever use
setlocalas we have done in this example because the ruler can be simply toggled on and off with Ctrl+R.
If you want to check the value of an option to see what it is, you can use the show command.
show ruler
It will print whatever the value of that option currenly is. Obviously this would not be needed for the ruler because you can see it when it is on, but other options may be less apparent.
Keybindings
Micro comes with a lot of keybindings enabled by default. You can read through the default keybindings in help defaultkeys, or toggle the details here.
Micro default keybindings
Default Keys
Below are simple charts of the default hotkeys and their functions. For more
information about binding custom hotkeys or changing default bindings, please
run> help keybindingsPlease remember that all keys here are rebindable! If you don’t like it, you
can change it!Power user
Key Description of function Ctrl-eOpen a command prompt for running commands (see > help commandsfor a list of valid commands).TabIn command prompt, it will autocomplete if possible. Ctrl-bRun a shell command (this will close micro while your command executes). Navigation
Key Description of function ArrowsMove the cursor around Shift-arrowsMove and select text Alt(Ctrl on Mac)-LeftArrowMove to the beginning of the current line Alt(Ctrl on Mac)-RightArrowMove to the end of the current line HomeMove to the beginning of text on the current line EndMove to the end of the current line Ctrl(Alt on Mac)-LeftArrowMove cursor one word left Ctrl(Alt on Mac)-RightArrowMove cursor one word right Alt-{Move cursor to previous empty line, or beginning of document Alt-}Move cursor to next empty line, or end of document PageUpMove cursor up one page PageDownMove cursor down one page Ctrl-HomeorCtrl-UpArrowMove cursor to start of document Ctrl-EndorCtrl-DownArrowMove cursor to end of document Ctrl-lJump to a line in the file (prompts with #) Ctrl-wCycle between splits in the current tab (use > vsplitor> hsplitto create a split)Tabs
Key Description of function Ctrl-tOpen a new tab Alt-,Previous tab Alt-.Next tab Find Operations
Key Description of function Ctrl-fFind (opens prompt) Ctrl-nFind next instance of current search Ctrl-pFind previous instance of current search Note:
Ctrl-nandCtrl-pshould be used from the main buffer, not from inside
the search prompt. AfterCtrl-f, press enter to complete the search and then
you can useCtrl-nandCtrl-pto cycle through matches.File Operations
Key Description of function Ctrl-qClose current file (quits micro if this is the last file open) Ctrl-oOpen a file (prompts for filename) Ctrl-sSave current file Text operations
Key Description of function Ctrl(Alt on Mac)-Shift-RightArrowSelect word right Ctrl(Alt on Mac)-Shift-LeftArrowSelect word left Alt(Ctrl on Mac)-Shift-LeftArrowSelect to start of current line Alt(Ctrl on Mac)-Shift-RightArrowSelect to end of current line Shift-HomeSelect to start of current line Shift-EndSelect to end of current line Ctrl-Shift-UpArrowSelect to start of file Ctrl-Shift-DownArrowSelect to end of file Ctrl-xCut selected text Ctrl-cCopy selected text Ctrl-vPaste Ctrl-kCut current line Ctrl-dDuplicate current line Ctrl-zUndo Ctrl-yRedo Alt-UpArrowMove current line or selected lines up Alt-DownArrowMove current line or selected lines down Alt-Backspace or Alt-Ctrl-hDelete word left Ctrl-aSelect all TabIndent selected text Shift-TabUnindent selected text Macros
Key Description of function Ctrl-uToggle macro recording (press Ctrl-u to start recording and press again to stop) Ctrl-jRun latest recorded macro Multiple cursors
Key Description of function Alt-nCreate new multiple cursor from selection (will select current word if no current selection) Alt-Shift-UpSpawn a new cursor on the line above the current one Alt-Shift-DownSpawn a new cursor on the line below the current one Alt-pRemove latest multiple cursor Alt-cRemove all multiple cursors (cancel) Alt-xSkip multiple cursor selection Alt-mSpawn a new cursor at the beginning of every line in the current selection Ctrl-MouseLeftPlace a multiple cursor at any location Other
Key Description of function Ctrl-gOpen help file Ctrl-hBackspace (old terminals do not support the backspace key and use Ctrl+H instead) Ctrl-rToggle the line number ruler Emacs style actions
Key Description of function Alt-fNext word Alt-bPrevious word Alt-aMove to start of line Alt-eMove to end of line Function keys.
Warning! The function keys may not work in all terminals!
Key Description of function F1Open help F2Save F3Find F4Quit F7Find F10Quit
All the keybindings are rebindable–that is, if you would like to change a keybinding to something else, that is supported. It is actually very easily done as well.
Setting a custom keybinding
The easiest way to set up a binding is with the bind command. The format for the command is bind [keycombo] [action]. The bind command can be picky about capitalization, so make sure you are typing the keycombo and action values the way Micro has them listed in the cheatsheets.
For example, let’s say I would like to change Ctrl+V to be copy and Ctrl+C to be paste, I can open the command bar with Ctrl+E and run:
bind Ctrl-v Copy
Open it again and run:
bind Ctrl-c Paste
Note you use lower-cased “v” and “c” in this example; technically an upper-case letter implies using the shift key for the binding in addition to the other keys.
The bind command adds the specified binding to ~/.config/micro/bindings.json. Here we can see the file where I have added the bindings above:
{
    "Ctrl-c": "Paste",
    "Ctrl-v": "Copy"
}
A second method for adding or changing a keybinding would be to edit bindings.json directly. As with settings.json (or any .json file), the syntax must be exactly right or the whole file is no good. If you aren’t sure, just stick with the bind command because it is harder to make a mistake that way.
For a full list of bindable actions (like Copy or Paste), see help keybindings or toggle the details here:
Micro bindable actions
Full list of bindable actions:

CursorUp
CursorDown
CursorPageUp
CursorPageDown
CursorLeft
CursorRight
CursorStart
CursorEnd
SelectToStart
SelectToEnd
SelectUp
SelectDown
SelectLeft
SelectRight
SelectToStartOfText
SelectToStartOfTextToggle
WordRight
WordLeft
SelectWordRight
SelectWordLeft
MoveLinesUp
MoveLinesDown
DeleteWordRight
DeleteWordLeft
SelectLine
SelectToStartOfLine
SelectToEndOfLine
InsertNewline
InsertSpace
Backspace
Delete
Center
InsertTab
Save
SaveAll
SaveAs
Find
FindLiteral
FindNext
FindPrevious
DiffPrevious
DiffNext
Undo
Redo
Copy
CopyLine
Cut
CutLine
DuplicateLine
DeleteLine
IndentSelection
OutdentSelection
OutdentLine
IndentLine
Paste
SelectAll
OpenFile
Start
End
PageUp
PageDown
SelectPageUp
SelectPageDown
HalfPageUp
HalfPageDown
StartOfLine
EndOfLine
StartOfText
StartOfTextToggle
ParagraphPrevious
ParagraphNext
ToggleHelp
ToggleDiffGutter
ToggleRuler
JumpLine
ClearStatus
ShellMode
CommandMode
Quit
QuitAll
AddTab
PreviousTab
NextTab
NextSplit
Unsplit
VSplit
HSplit
PreviousSplit
ToggleMacro
PlayMacro
Suspend (Unix only)
ScrollUp
ScrollDown
SpawnMultiCursor
SpawnMultiCursorUp
SpawnMultiCursorDown
SpawnMultiCursorSelect
RemoveMultiCursor
RemoveAllMultiCursors
SkipMultiCursor
None
JumpToMatchingBrace
Autocomplete
Likewise, the list of all possible keys can be found in help keybindings, or toggled in the details here:
Micro bindable keys
Here is the list of all possible keys you can bind:

Up
Down
Right
Left
UpLeft
UpRight
DownLeft
DownRight
Center
PageUp
PageDown
Home
End
Insert
Delete
Help
Exit
Clear
Cancel
Print
Pause
Backtab
F1
F2
F3
F4
F5
F6
F7
F8
F9
F10
F11
F12
F13
F14
F15
F16
F17
F18
F19
F20
F21
F22
F23
F24
F25
F26
F27
F28
F29
F30
F31
F32
F33
F34
F35
F36
F37
F38
F39
F40
F41
F42
F43
F44
F45
F46
F47
F48
F49
F50
F51
F52
F53
F54
F55
F56
F57
F58
F59
F60
F61
F62
F63
F64
CtrlSpace
Ctrl-a
Ctrl-b
Ctrl-c
Ctrl-d
Ctrl-e
Ctrl-f
Ctrl-g
Ctrl-h
Ctrl-i
Ctrl-j
Ctrl-k
Ctrl-l
Ctrl-m
Ctrl-n
Ctrl-o
Ctrl-p
Ctrl-q
Ctrl-r
Ctrl-s
Ctrl-t
Ctrl-u
Ctrl-v
Ctrl-w
Ctrl-x
Ctrl-y
Ctrl-z
CtrlLeftSq
CtrlBackslash
CtrlRightSq
CtrlCarat
CtrlUnderscore
Backspace
OldBackspace
Tab
Esc
Escape
Enter

You can also bind some mouse buttons (they may be bound to normal actions or
mouse actions)

MouseLeft
MouseMiddle
MouseRight
MouseWheelUp
MouseWheelDown
MouseWheelLeft
MouseWheelRight
As you can see, you can even bind some mouse buttons. For example, if I wanted Ctrl+ left click to select a line I can add the binding like so:
bind CtrlMouseLeft SelectLine
The json version of this is:
{
    "CtrlMouseLeft": "SelectLine"
}
It should be noted that in bindings, mouse buttons act the same as keyboard buttons. This means the action will be focused on the cursor in the file (not where you click the mouse cursor). In my example above, if the cursor is on line 3 and I Ctrl+ left click on line 5, line 3 will be selected. If you want the action focused on the mouse cursor, you should first click the mouse (to move the cursor), then execute the keybinding.
Key sequences can be bound by specifying valid keys one after another in brackets, such
as <Ctrl-x><Ctrl-c>. For example, if I want to bind Ctrl+J,Ctrl+B to the “JumpToMatchingBrace” action, the bind command should look like this:
bind <Ctrl-j><Ctrl-b> JumpToMatchingBrace
You can also chain commands in a keybinding by joining them with a comma. For example, lets say I want to set wordwrapping to a keybinding, so I can toggle it on and off. I must use both the softwrap and wordwrap commands together.
In this example I will use Alt+z to toggle wordwrapping on:
bind "command:setlocal wordwrap on,command:setlocal softwrap on"
And Alt+Z to toggle wordwrapping back off again:
bind "command:setlocal wordwrap off,command:setlocal softwrap off"
Plugins
Micro has a robust plugin system, including support for creating your own plugins with Lua. You can read more about creating your own plugins here: micro/runtime/help/plugins.md at master · zyedidia/micro · GitHub
There are six plugins included by default:
autoclose: Automatically add closing brackets and quotes.comment: Lines can be commented or uncommented with keybindings or commands for many languages. Especially handy for commenting out a selection (instead of going line by line).diff: Allows a diff gutter that will show changes from the most recent commit when in a Git directory.ftoptions: A plugin which provides filetype-specific options, like indentation for example.linter: For linting, of course! Many languages are supported.literate: Provides advanced syntax highlighting for the Literate coding tool.status: Provides some extensions to the status line.
Micro has a built-in plugin manager to automatically download and install your plugins for you. By default it only uses the official channel from GitHub - micro-editor/plugin-channel: Official plugin channel for micro, but you can link in third-party channels with the pluginchannels option. You can also directly link third-party plugins with the pluginrepos option with the plugin manager.
You can start the plugin manager from the command bar with plugin [command]. Here are the available commands:
plugin list: List all installed plugins.plugin install [foo]: Install thefooplugin.plugin remove [foo]: Remove thefooplugin.plugin update [foo]: Update thefooplugin. Run without arguments to update all plugins.plugin search 'foobar': Search available plugins for a keyword.plugin available: Show all available plugins that can be installed.
You can always refer to this list of commands in help commands if you need to use one but can’t remember what it is.
Multi-cursor support
Micro has support for Sublime-style multiple cursors with the following default keybindings:
Key Description of function Alt-nCreate new multiple cursor from selection (will select current word if no current selection) Alt-Shift-UpSpawn a new cursor on the line above the current one Alt-Shift-DownSpawn a new cursor on the line below the current one Alt-pRemove latest multiple cursor Alt-cRemove all multiple cursors (cancel) Alt-xSkip multiple cursor selection Alt-mSpawn a new cursor at the beginning of every line in the current selection Ctrl-MouseLeftPlace a multiple cursor at any location
Micro: powerful and easy to use
Micro is a great editor because it is easy for beginners to get started with, but is packed with features for advanced users as well. Hopefully this topic will be helpful for folks who are interested in learning more about the advanced features.