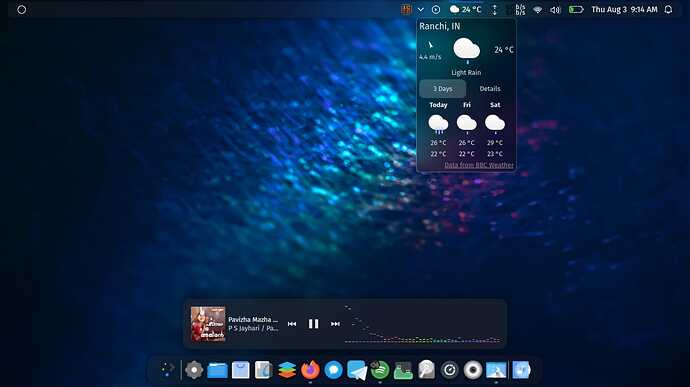
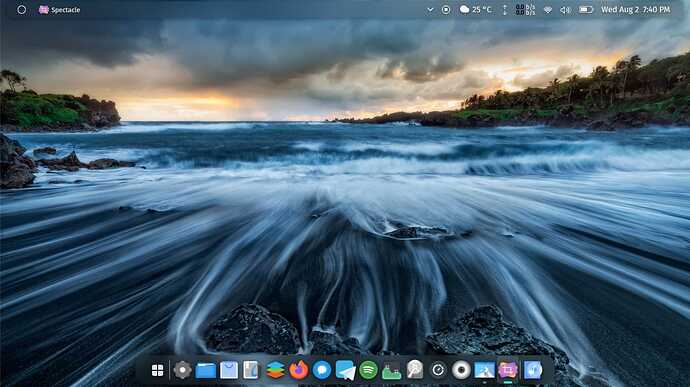
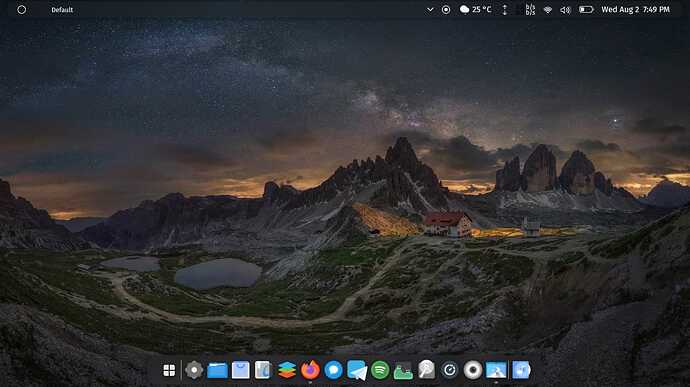
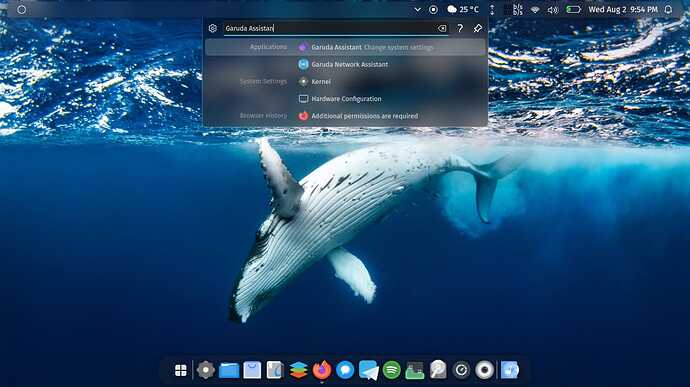
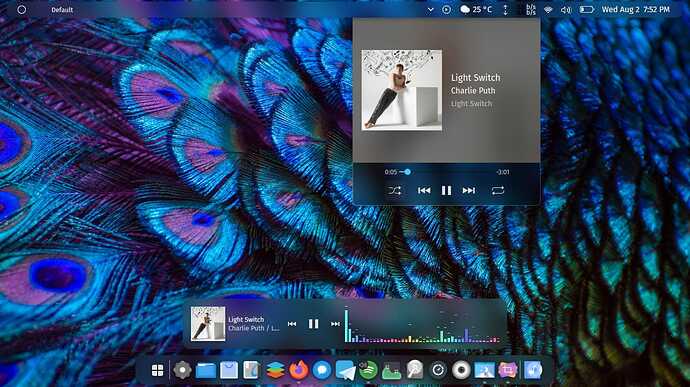
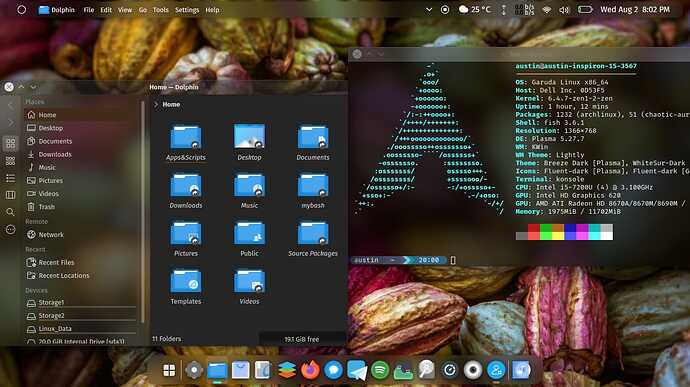
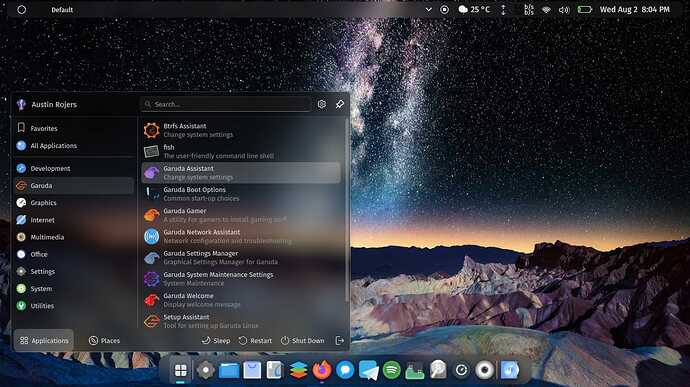
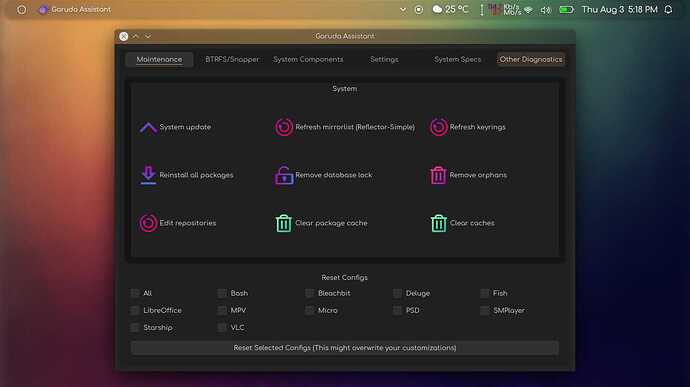
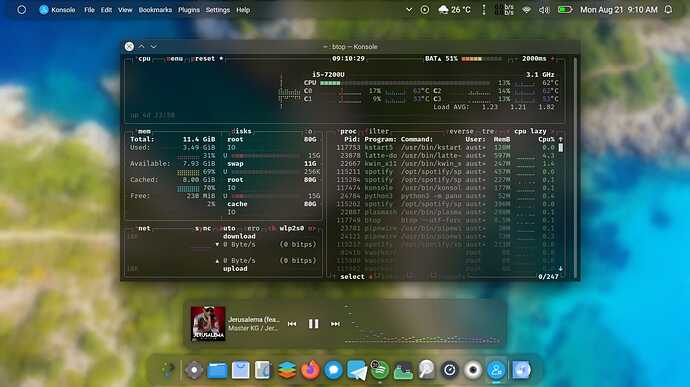
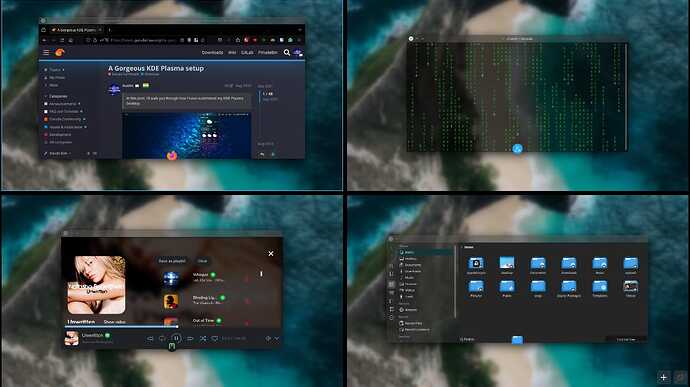
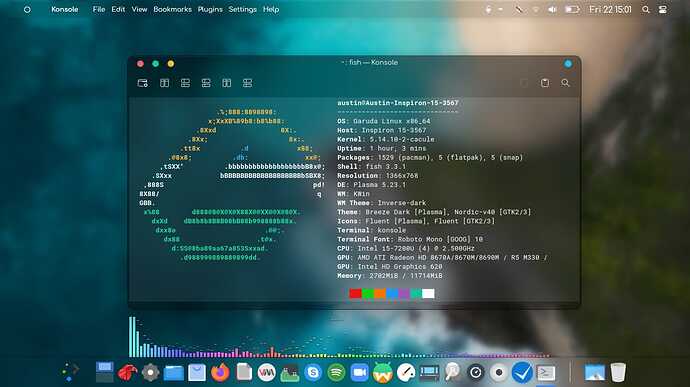
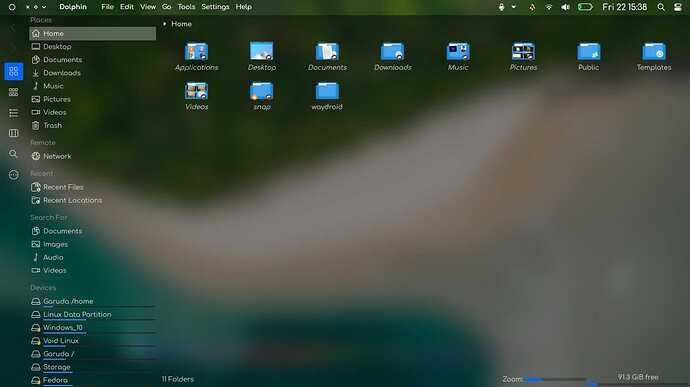
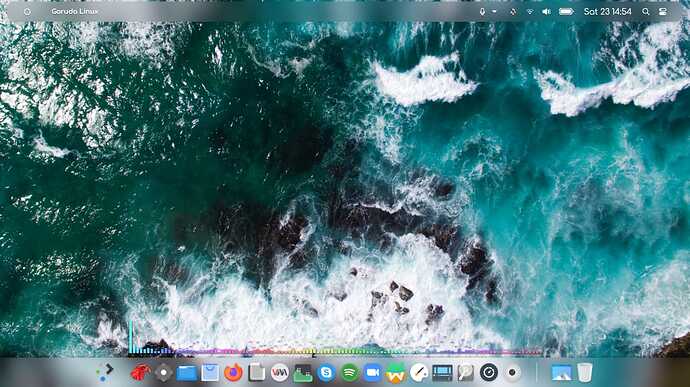
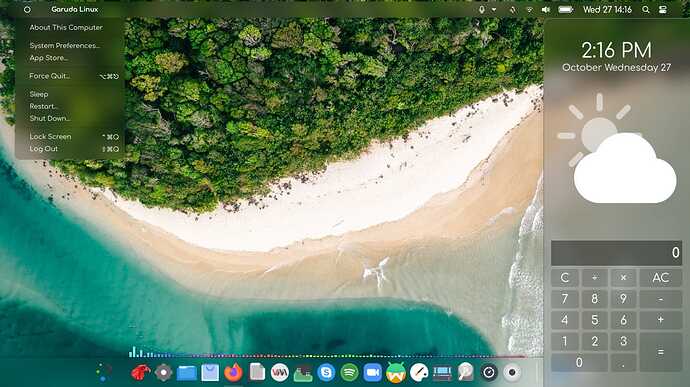
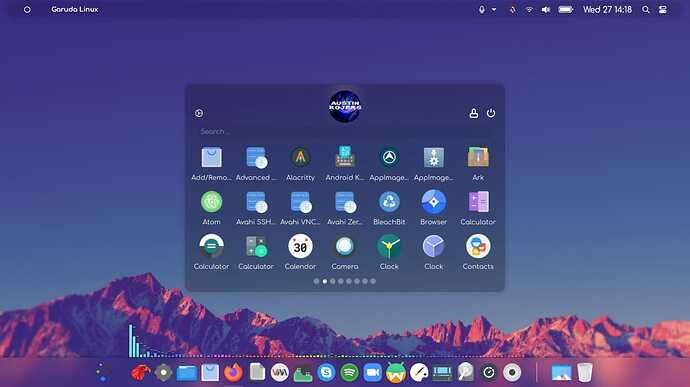
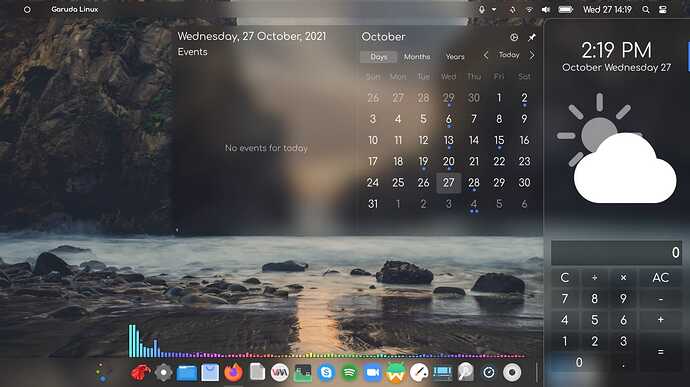
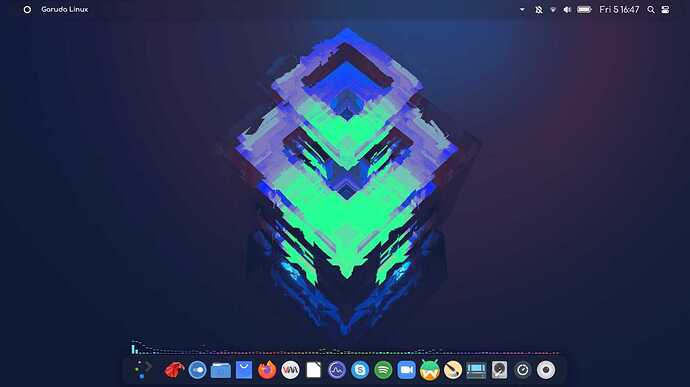
In this post, I’ll walk you through how I have customized my KDE Plasma Desktop.
I have used ideas and inspirations from the Linux community, especially from some of the videos of @linuxscoop and our own Garuda Dragonized edition and of course, I have added my own ideas.
Installing packages/software required for this project:
- If you are starting with the Garuda Dr460nized edition, you might want to explicitly install the useful packages that are packaged as dependencies with
garuda-dr460nizedpackage:
sudo pacman -D --asexplicit garuda-common-settings garuda-icons garuda-fish-config garuda-wallpapers kvantum kvantum-qt5 plasma-systemmonitor plasma-applet-window-buttons plasma6-applets-window-title plasma6-wallpapers-blurredwallpaper ttf-fira-sans ttf-firacode-nerd xdg-desktop-portal-gtk
Remove the garuda-dr460nized package, as you no longer need it.
(Keeping this package might overwrite your Plasma customisations whenever there is an update.)
-
For those of you starting with Garuda KDE Barebones, install the above packages (installed explicitly for garuda-dr460nized).
You can have a look here (Garuda Dr460nized Packages-Desktop) for useful packages that come preinstalled with Garuda Dr460nized (likekde-servicemenus-rootactions).
Kudos to the Garuda team for keeping detailed & well-organised iso-profiles! -
Now, let’s install the software/packages that we are going to require for this customisation:
sudo pacman -S latte-dock kvantum lightly-qt plasma5-applets-window-appmenu plasma5-applets-window-buttons plasma5-applets-window-title plasma5-applets-betterinlineclock-git plasma5-wallpapers-blurredwallpaper ttf-fira-sans ttf-firacode-nerd
(No need to reinstall them again if you already have them)
- Now we’ll install some dependencies for Panon (an audio spectrum analyzer for KDE panel):
sudo pacman -S qt5-websockets python-docopt python-numpy python-pyaudio python-cffi python-websockets
You can install Panon from the Plasma Widgets Store.
Now that we have all the required packages/software installed, let’s start!
- Setting up latte-dock
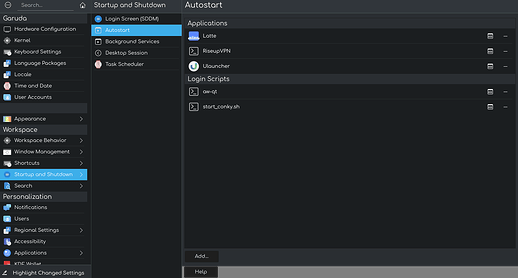
Since we are going to use latte-dock now, you can remove the Plasma Panels on your desktop and then add latte-dock to your Auto-Start Apps list so that it starts on every new session and you have a dock!
- Now download my custom latte-config from here (and save it wherever you want):
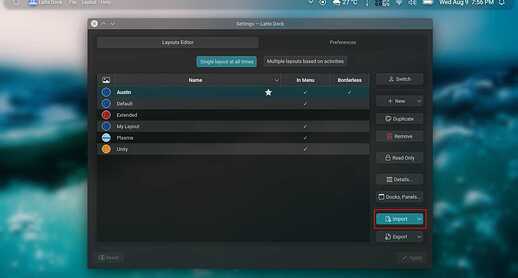
- Import the layout config:
Before switching to the imported latte-layout, you will have to install some plasmoids used in the layout:
(You can install the plasmoids from the Plasma Widgets Store)
i. Kpple Menu
ii. Window Buttons (already installed earlier)
iii. Window Title Applet (by Psifidotos)
iv. Latte Separator
v. Latte Spacer
vi. Latte SideBar Button
vii. Better inline clock
viii. mcOS BS Inline Battery
ix. Netspeed Widget
x. mediacontroller_plus
xi. panon
(We have already installed some of these plasmoids as packages earlier)
-
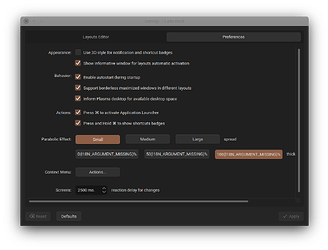
Enable Support for Borderless Maximised Windows
-
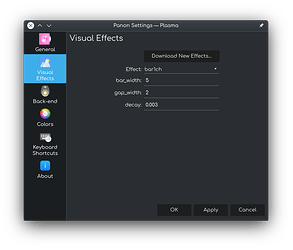
Panon Settings:
That’s it for the latte-dock!
- Settings
Settings ---> Appearance:
Global theme: Breeze dark
Application style: Lightly
Plasma style: Win12OS-dark
Colours: GloriousDark (download it from here, Proton Drive and import it to the settings)
*[the GloriousDark colour scheme adds a transparency effect to a window’s titlebar!]
Window Decorations: Lightly
Icons: Fluent, Kora, Beautyine, Tela, Tela circle (my preferences)
Cursors: Breeze
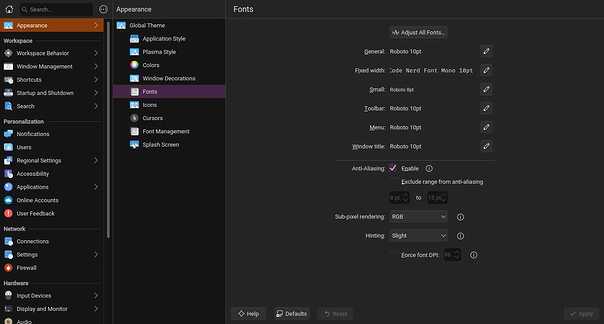
Fonts:
Settings ---> Workspace Behaviour ---> Desktop Effects:
You can enable & tweak options like,
i. Blur
ii. Fall Apart
iii. Translucency
iv. Wobbly Windows
v. Magic Lamp
vi. Slide Back (slide windows)
vii. Slide (slide desktops)
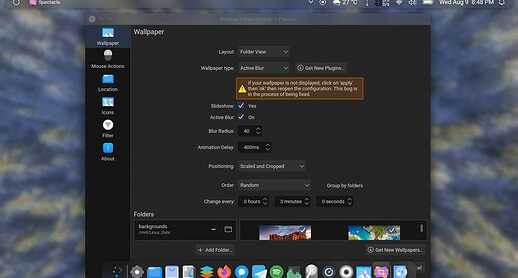
- Now, we will enable a Wallpaper Plugin (Active Blur) for blurred background when there’s an active window on top.
(We have already installed the plugin earlier)
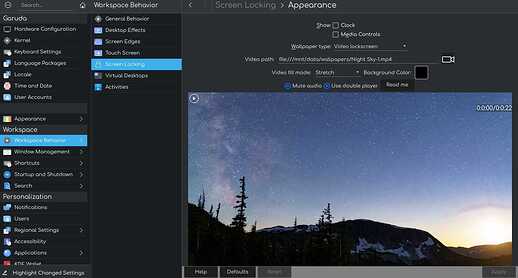
- Screen Saver:
Settings ---> Workspace Behavior ---> Screen Locking ---> Configure
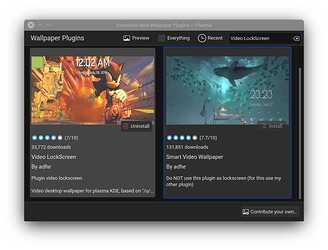
I have added short videos to play on the screen when the screen is locked. For this, you will first have to install Video LockScreen from Plasma Desktop Settings.
That’s it for the Plasma Settings
You can check out the plethora of options and tweak them as you like!
I couldn’t show every option in the settings in this post. You can check out the attached YT video below for more.
There we go, that’s how I customize my Plasma Desktop
The video has inspired me to a great extent. You can refer to this video for detailed steps,
I will be updating this post as I make changes to my desktop.
I have created this post so that everyone can have a glimpse of how customizable Linux Desktop is and inspire you to customize your own desktops.
