How to create a Garuda COSMIC VM with Quickemu
Quickemu is really easy to use and fast to get started with. Most VMs can be spun up with only a few commands. Garuda COSMIC has not yet been added to the quickget utility, but fortunately it is pretty easy to set up a Linux guest manually: 02 Create Linux virtual machines · quickemu-project/quickemu Wiki · GitHub
Install Quickemu
quickemu-git is in the Chaotic-AUR. This is the easiest installation method.
sudo pacman -S quickemu
Other installation methods are described here: 01 Installation · quickemu-project/quickemu Wiki · GitHub
VM directory setup
Create a directory for the VM. It can be called anything you want. For this example, I’m going to call it garuda-cosmic-250430 (easy for me to remember what it is because it’s named after the ISO I tested with  ).
).
mkdir garuda-cosmic-250430
Next, download the ISO from the builds page, verify the checksum, and put it inside the directory you created.
garuda-cosmic-250430
└── garuda-cosmic-linux-zen-250430.iso
That’s all you need to put in here for now; Quickemu will add other files here as you start working with the VM.
VM config file
Create a config file for the VM. You can name it the same thing as the directory you just set up, only with .conf in the name.
In this example, we will create the config with Micro.
micro garuda-cosmic-250430.conf
Here is a very simple example config, suitable for getting started. You can just paste it in if you are using the same name that I am using in this example.
#!/usr/bin/quickemu --vm
guest_os="linux"
disk_img="garuda-cosmic-250430/disk.qcow2"
iso="garuda-cosmic-250430/garuda-cosmic-linux-zen-250430.iso"
disk_size="32G"
disk_img should point to the directory you created earlier (“garuda-cosmic-250430” in this example). disk.qcow2 is a file Quickemu will create inside.
iso is pointing to the ISO file you put in that same directory earlier.
Disk size is handled dynamically with Quickemu, but in our case we need to specify disk_size="32G" in the config because Calamares won’t run if it doesn’t detect a potential installation target that is at least this size.
This is a very minimal config; if desired, advanced configuration is possible with other options described here: 05 Advanced quickemu configuration · quickemu-project/quickemu Wiki · GitHub
Start the VM
Launch the VM with the quickemu --vm [your config file].
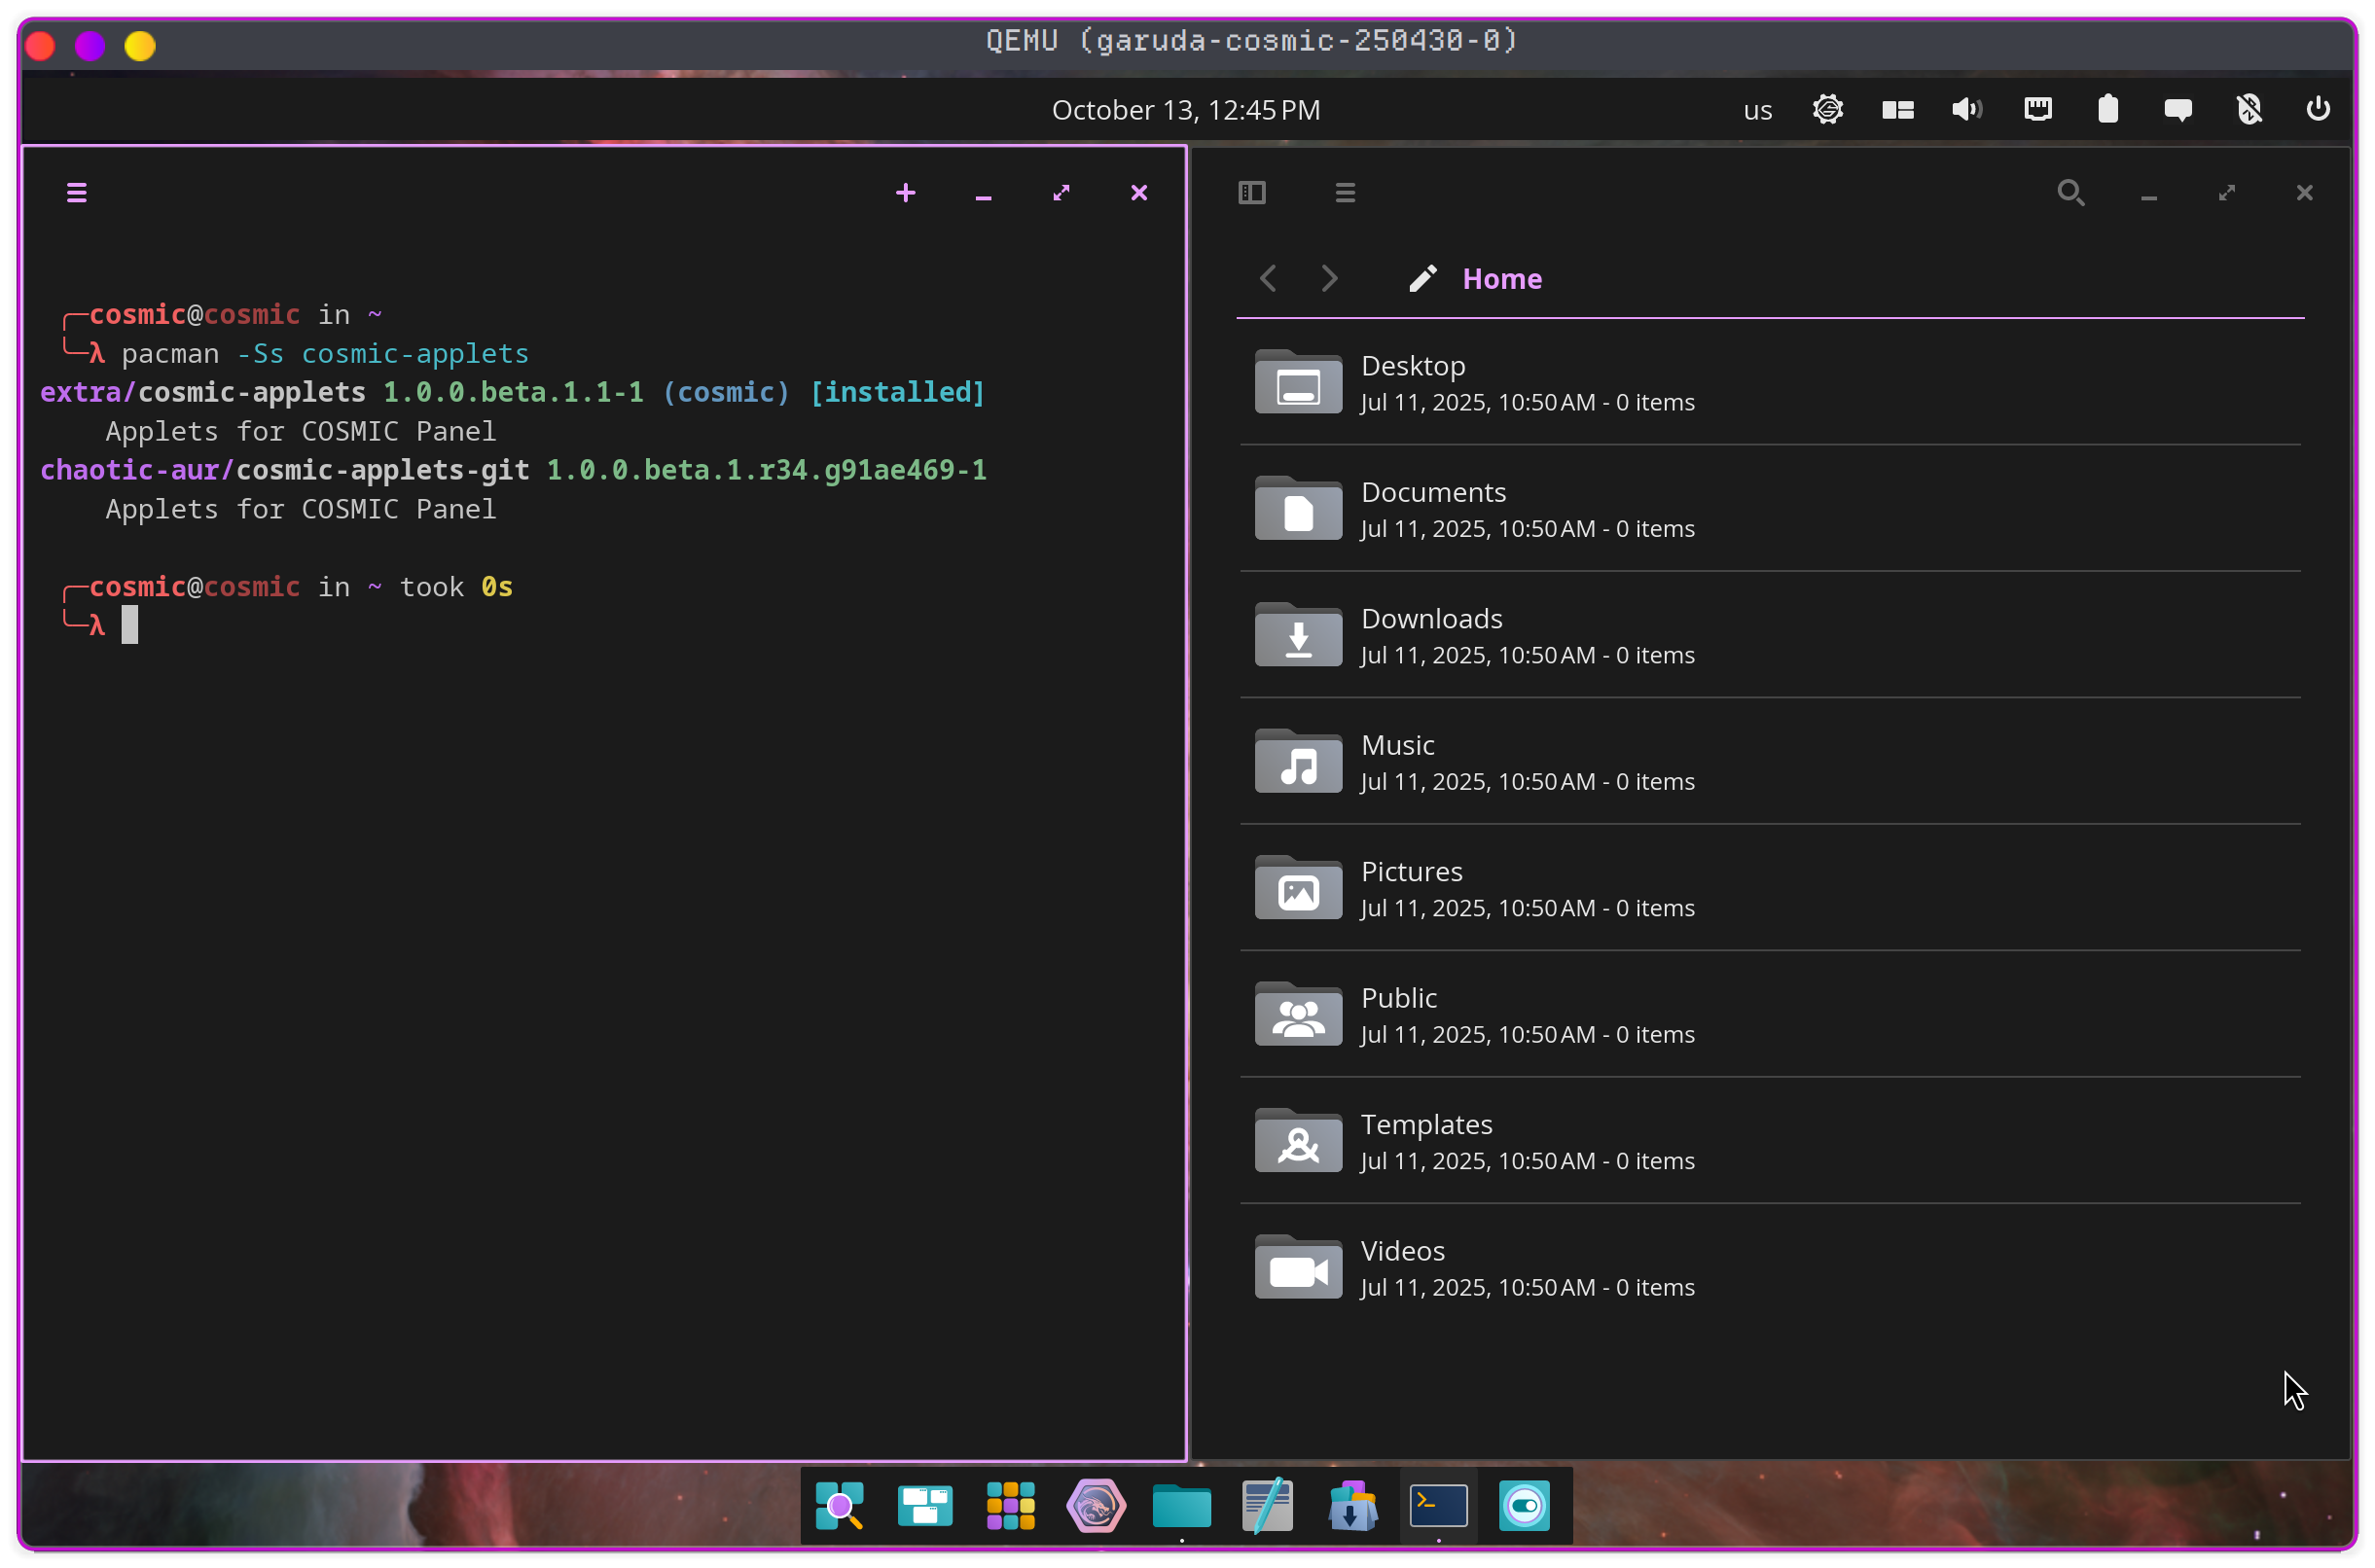
quickemu --vm garuda-cosmic-250430.conf
That’s it, your VM is running! Told you it was fast and easy.
(Optional) Create a desktop file
You can launch the VM with the --shortcut flag to create a desktop shortcut for your VM.
quickemu --vm garuda-cosmic-250430.conf --shortcut
Now you can start your VM from your launcher instead of running the command.
(Optional) Delete the VM
Once you’ve had enough, if you’d like to delete the VM (and it’s configuration) you can use the --delete-vm flag.
quickemu --vm garuda-cosmic-250430.conf --delete-vm
That’s it, I guess I just wanted to show how fast and easy Quickemu is to get started with in case anyone is curious to test out the COSMIC desktop but doesn’t have a test machine or a multiboot setup to tinker with. I’m not a Quickemu expert by any means, and I don’t want to turn this into a Quickemu support thread, but if you have any questions about it I’ll do the best I can to answer them.
Have fun exploring!